

5 Must-Know Window AC Setup Lessons from My Experience
Installing a window air conditioner seems simple at first glance. You buy the unit, place it in the window, plug it in, and enjoy cool air. That’s the theory. In reality, anyone who has done it even once knows there’s a big gap between “installation” and “proper installation.”
Over time, through trial, error, frustration, and a few uncomfortable summer nights, I learned that window AC setup is less about brute force and more about small, smart decisions. These lessons didn’t come from manuals—they came from mistakes, adjustments, and observing what actually improves cooling performance.
Here are five lessons I wish I had known from day one.
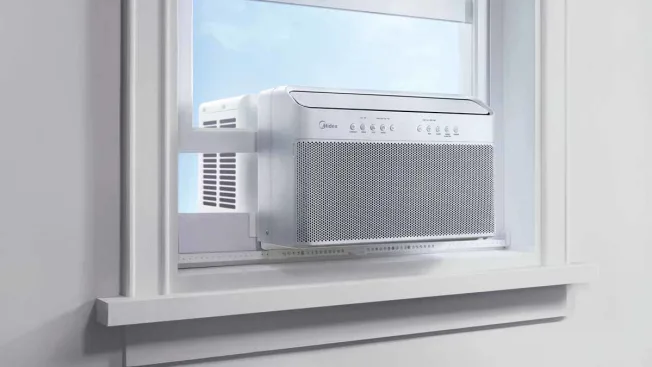
Lesson 1: The window choice matters more than the AC itself
When I first installed my window AC, I thought any window would do. That assumption cost me efficiency, comfort, and a lot of rework.
Not all windows are suitable for AC installation. The ideal window should be:
- Strong enough to support the unit’s weight
- Positioned where airflow is not blocked by walls or furniture
- Sealed properly when the AC is mounted
- Easy to access for maintenance and drainage
I initially chose a window that faced direct afternoon sunlight. The result? The AC worked twice as hard, yet the room never felt fully cool. Later, I shifted it to a shaded side window, and the difference was immediate.
Another mistake I made was ignoring structural support. A weak wooden frame caused vibration noise and slight tilting. I had to reinforce it with metal brackets afterward.
The lesson: don’t treat the window as a passive frame. It is part of the cooling system.
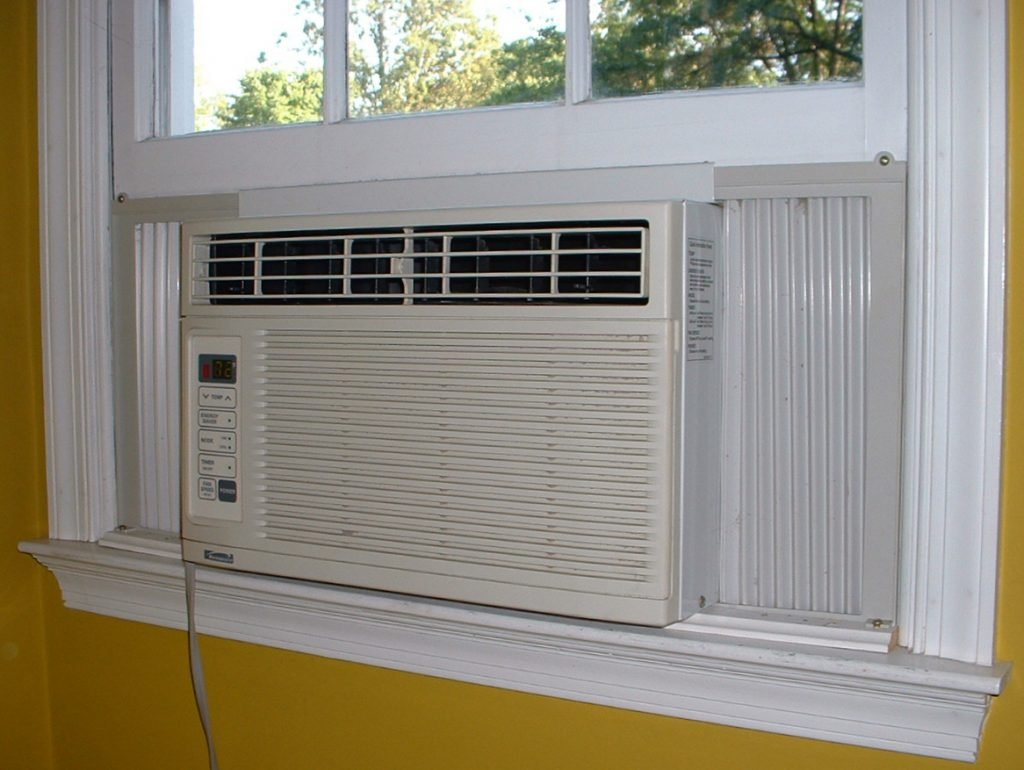
Lesson 2: Sealing gaps is not optional—it is everything
If there’s one mistake almost everyone makes, it’s ignoring small air gaps.
When I first installed my AC, I assumed “tight fit” was enough. But warm air kept sneaking in from the sides. The unit ran continuously, electricity bills went up, and cooling still felt weak.
Later, I learned that even tiny gaps around the AC can reduce efficiency dramatically.
What worked for me:
- Foam insulation strips around edges
- Thick weatherproof tape for side panels
- A proper rear seal to block outdoor heat leaks
- Checking gaps at night using a flashlight test
After sealing everything properly, the AC didn’t just cool faster—it started cycling off periodically instead of running nonstop. That alone reduced noise and power usage.
Lesson 3: Tilt angle makes or breaks drainage performance
This was one of the most overlooked details in my early setup.
A window AC needs a slight tilt backward (toward the outside). I didn’t pay attention to this initially, and water started leaking inside the room during humid days.
At first, I thought the unit was defective. It wasn’t.
The problem was improper angle.
Here’s what I learned:
- Too flat → water leaks indoors
- Too tilted inward → compressor strain and poor drainage
- Slight outward tilt → smooth water drainage and better compressor life
Once I adjusted the angle properly using small wooden spacers, everything changed. No leakage, less noise, and smoother operation.
This small adjustment alone can extend the life of the AC.
Lesson 4: Air circulation inside the room matters as much as cooling power
A common misunderstanding is that a powerful AC will automatically cool the room evenly. That’s not true.
In my case, I had a 1.5-ton AC in a medium-sized room, yet one corner always felt warm. The reason wasn’t the machine—it was airflow blockage.
Things that caused poor circulation:
- Furniture placed directly in front of airflow
- Curtains blocking return air
- Closed corners trapping hot air
- Lack of ceiling or table fan support
The fix was surprisingly simple: I added a slow ceiling fan rotation to circulate cooled air evenly.
The improvement was immediate. Instead of one cold zone near the window, the entire room started maintaining a balanced temperature.
Lesson: AC cools air, but circulation distributes comfort.
Lesson 5: Maintenance starts on day one, not when problems appear
This was probably my biggest long-term lesson.
I used to think maintenance was something you do after a year or when performance drops. That mindset led to dust buildup, reduced airflow, and unnecessary stress on the unit.
Now I follow a simple routine from the beginning:
- Clean filters every 2–3 weeks during heavy use
- Check outdoor vents for dust and debris
- Wipe internal grills gently to prevent blockage
- Ensure drainage pipe remains unclogged
One summer, I ignored filter cleaning for two months. The result was weak airflow and higher electricity consumption. After cleaning it, the difference was almost like getting a new AC.
Maintenance isn’t repair—it’s prevention.
Lesson 6 (bonus): Electrical setup and load balancing cannot be ignored
I learned this lesson the hard way when my circuit breaker tripped repeatedly during peak summer usage.
Window AC units draw significant power. Plugging them into overloaded sockets or weak wiring is risky.
What I changed:
- Dedicated socket for AC
- Avoiding extension boards
- Checking wire rating for load capacity
- Ensuring proper earthing
After fixing the electrical setup, not only did tripping stop, but the AC also started performing more consistently.
This is often ignored, but it directly affects both safety and efficiency.
Conclusion
Installing a window AC is not just about mounting a machine—it’s about creating a balanced system where placement, sealing, airflow, tilt, and maintenance all work together.
My early mistakes taught me that even a good AC can perform poorly if installed carelessly, while a modest unit can work efficiently if set up correctly.
The real lesson is simple: comfort doesn’t come from the machine alone—it comes from how thoughtfully you set it up.
FAQs
- What is the ideal tilt for a window AC?
A slight outward tilt (toward the exterior) is ideal. It helps with proper drainage and prevents indoor water leakage. - Why is my window AC not cooling properly after installation?
Common reasons include air gaps, poor sealing, dirty filters, or blocked airflow inside the room. - Can I install a window AC in any window?
Not all windows are suitable. The window should be strong, properly sized, and located where airflow is not obstructed. - How often should I clean a window AC filter?
During peak usage, every 2–3 weeks is recommended for best cooling performance and efficiency. - Do I need a stabilizer for a window AC?
It depends on voltage fluctuations in your area, but in many cases, a stabilizer improves safety and performance consistency. - What is the biggest mistake people make during AC installation?
Ignoring sealing and air leakage around the unit, which drastically reduces cooling efficiency.