

11 Proven Window AC Troubleshooting Ideas Experts Use
Introduction
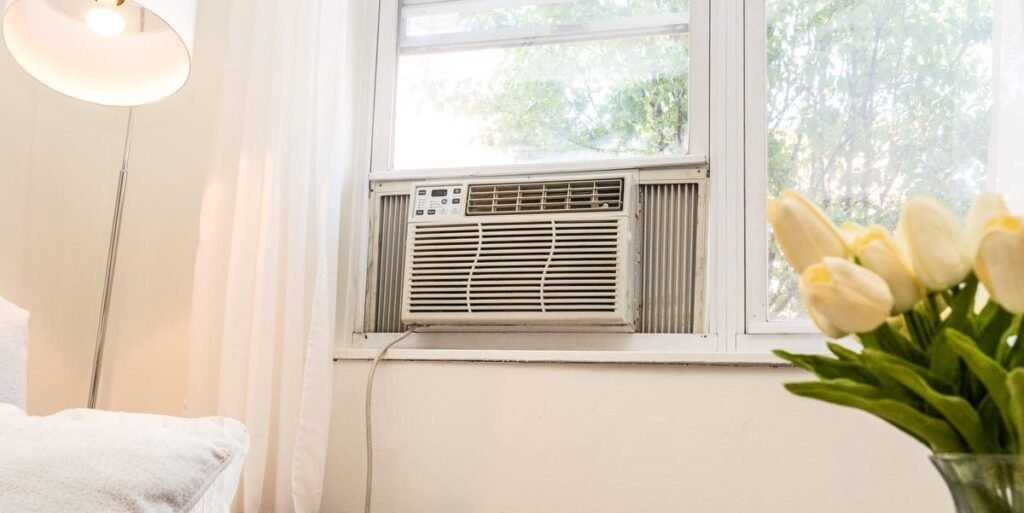
A window air conditioner is one of the most practical cooling solutions for homes in hot climates. It is compact, relatively affordable, and capable of cooling a single room efficiently. However, like any mechanical appliance, it can develop problems over time. When a window AC stops cooling properly, makes unusual noises, leaks water, or refuses to turn on, many people assume it is damaged beyond repair. In reality, most issues come from simple, fixable causes that do not require professional intervention.
Experienced technicians follow a set of practical troubleshooting methods before recommending repairs or replacement. These methods are based on observation, basic diagnostics, and step-by-step elimination of common faults. Understanding these techniques can help you maintain your AC better, reduce repair costs, and improve cooling performance during peak summer months.
This article explores 11 proven window AC troubleshooting ideas that experts rely on in real-world situations. Each method is practical, tested, and focused on solving the most common cooling and operational issues.
- Checking and cleaning dirty air filters
One of the most common reasons a window AC underperforms is a clogged air filter. Dust, lint, and airborne particles accumulate on the filter over time, blocking airflow into the unit. When airflow is restricted, the AC struggles to cool the room effectively, and the system may even freeze internally.
Experts always begin troubleshooting by inspecting the air filter. If the filter appears gray, dusty, or coated with debris, it needs cleaning. In most cases, washing it with mild soap and water is enough to restore normal airflow. After cleaning, the filter should be completely dry before reinserting it.
A clean filter improves cooling efficiency, reduces strain on the compressor, and lowers electricity consumption. In dusty environments, filters should ideally be cleaned every two to three weeks during heavy usage periods. Neglecting this simple step can lead to larger issues such as coil freezing and reduced lifespan of the unit.
- Inspecting thermostat settings and calibration
Sometimes the issue is not mechanical but related to incorrect thermostat settings. Users may accidentally set the temperature too high or switch the mode to fan instead of cooling. Experts always verify thermostat settings before proceeding with deeper diagnostics.
If the AC runs but does not cool properly, the thermostat sensor might also be misreading room temperature. In older units, calibration drift can occur, causing inaccurate temperature control. Technicians test this by comparing room temperature with the AC’s reading and adjusting accordingly.
Ensuring the thermostat is set to the correct mode and temperature range (typically between 22°C to 26°C for comfort cooling) often resolves complaints of poor performance without any physical repair.
- Examining power supply and electrical connections
A surprising number of window AC problems originate from unstable or faulty power supply. Loose plugs, damaged power cords, or fluctuating voltage can prevent the unit from starting or cause intermittent operation.
Experts always check the power outlet using another device to confirm electricity flow. They also inspect the AC plug for burn marks, looseness, or wear. In areas with frequent voltage fluctuations, using a stabilizer is strongly recommended to protect internal components.
If the circuit breaker trips repeatedly when the AC is turned on, it may indicate an electrical overload or internal short circuit. In such cases, the unit should not be operated until inspected properly.
- Cleaning condenser coils for better heat release
The condenser coil plays a critical role in releasing heat absorbed from the room. When these coils become covered with dust, dirt, or grease, heat exchange becomes inefficient. As a result, the AC blows warm air or struggles to maintain temperature.
Professionals clean condenser coils using a soft brush or coil cleaner spray. In severe cases, the outer panel may need to be removed for thorough cleaning. This process restores proper heat dissipation and improves overall cooling performance.
Regular coil maintenance is essential, especially in environments with high pollution or construction dust. A clean condenser coil can significantly improve efficiency and reduce compressor load.
- Checking evaporator coil for icing issues
Ice formation on the evaporator coil is a common problem that many users misinterpret as a gas leakage issue. However, it is often caused by poor airflow, dirty filters, or low fan speed.
When ice forms, airflow becomes blocked, and cooling stops entirely. Experts first turn off the AC and allow the ice to melt naturally. Then they inspect filters, blower fans, and airflow pathways to identify the root cause.
Running the AC at very low temperatures for long hours without breaks can also contribute to icing. Proper airflow and moderate temperature settings help prevent this issue from recurring.
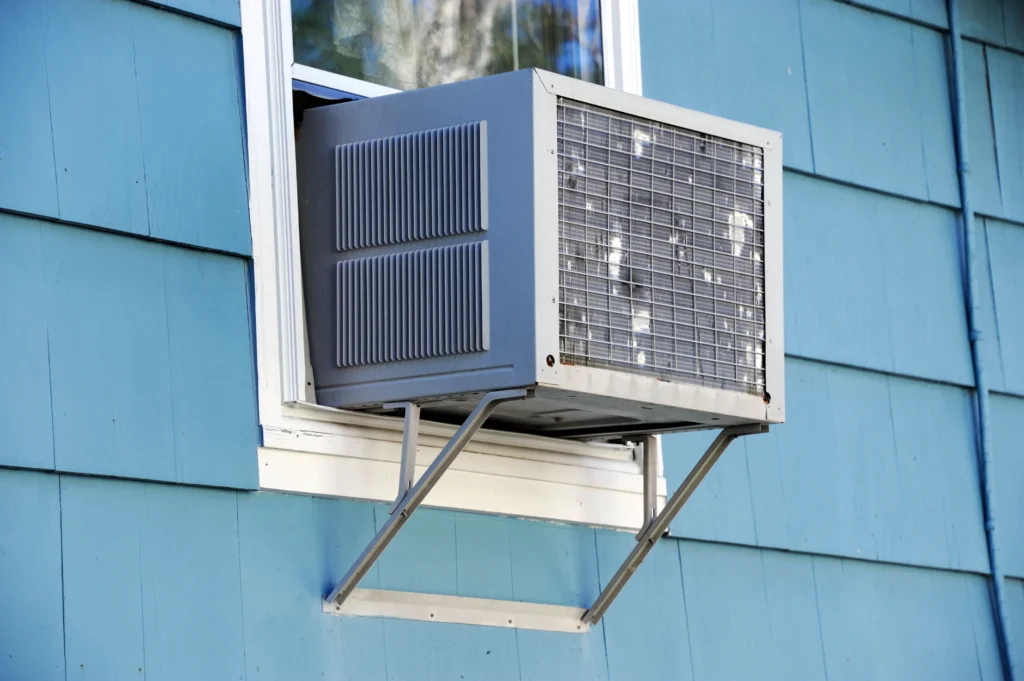
- Ensuring proper room insulation
Even a perfectly functioning AC will struggle if the room is not properly insulated. Gaps in windows, open doors, or thin curtains allow cool air to escape and hot air to enter continuously.
Technicians often check for air leaks around windows and doors. Simple fixes like sealing gaps with weather strips, closing curtains during peak sunlight hours, and minimizing door openings can drastically improve cooling efficiency.
Good insulation reduces workload on the AC, leading to faster cooling and lower electricity bills.
- Verifying fan speed and blower operation
The blower fan inside the AC is responsible for circulating cooled air into the room. If the fan speed is low or the blower is dirty, airflow becomes weak even if the cooling system is functioning properly.
Experts inspect fan motors, blades, and settings to ensure proper operation. Dust accumulation on fan blades can also reduce efficiency and create imbalance, leading to noise and vibration.
In some cases, lubricating the motor or replacing worn-out capacitors is necessary to restore normal fan performance.
- Checking refrigerant levels for cooling efficiency
Low refrigerant (commonly referred to as gas) is one of the main reasons an AC stops cooling effectively. However, experts never assume low gas without proper inspection because symptoms can be similar to airflow issues.
Using pressure gauges, technicians check whether refrigerant levels are within the recommended range. If leakage is detected, the system must be sealed and recharged by a professional.
It is important to note that refrigerant does not get used up in normal operation. If levels are low, there is usually a leak that must be addressed.
- Inspecting drainage system for water leakage
Water leakage from a window AC is usually caused by a blocked drainage pipe or improper installation angle. When water cannot flow out properly, it starts leaking inside the room.
Experts check the drain tray and pipe for dust, algae, or blockage. Cleaning the drainage system often resolves the issue immediately.
Additionally, the AC should be slightly tilted outward so that condensed water flows outside naturally. Improper installation is a common cause of recurring leakage problems.
- Testing compressor performance
The compressor is the heart of the AC system. If it fails, cooling stops entirely. However, compressors rarely fail suddenly without warning signs.
Technicians listen for unusual sounds, check vibration levels, and measure power consumption to evaluate compressor health. Overheating, frequent shutdowns, or failure to start can indicate compressor issues.
In some cases, the problem is not the compressor itself but related components like capacitors or relays. Proper diagnosis is essential before considering replacement.
- Resetting the unit and performing system reboot
Modern window AC units often include electronic control boards that can experience glitches due to power fluctuations or continuous usage. Resetting the system can resolve minor electronic errors.
Experts sometimes disconnect the unit from power for a few minutes before restarting it. This allows internal circuits to reset and clear temporary faults.
In digital models, using the reset button or remote control reset function can restore normal operation without further intervention.
Conclusion
Window AC troubleshooting is not always about complex repairs or expensive replacements. In many cases, performance issues arise from simple, preventable causes such as dirty filters, poor airflow, incorrect settings, or minor electrical issues. Professional technicians rely on systematic checks to identify and resolve problems efficiently.
By understanding these 11 proven troubleshooting ideas, users can maintain their air conditioners more effectively, reduce breakdown frequency, and ensure consistent cooling during hot weather. Regular maintenance and timely inspection remain the most reliable ways to extend the life of any window AC unit.
FAQs
- Why is my window AC running but not cooling the room?
This usually happens due to dirty filters, low refrigerant, or blocked airflow. Checking these components often resolves the issue. - How often should I clean my window AC filter?
During heavy summer use, cleaning every two to three weeks is recommended for optimal performance. - What causes water to leak from a window AC?
Blocked drainage pipes, improper tilt, or dust accumulation in the drain tray are common causes of leakage. - Is low gas the only reason for poor cooling?
No, poor cooling can also be caused by airflow issues, dirty coils, or thermostat problems. - Can I reset my window AC myself?
Yes, most units can be reset by turning off the power for a few minutes or using the reset function on the remote or control panel.