

10 Easy Window AC Setup Tricks You’ll Wish You Knew Earlier
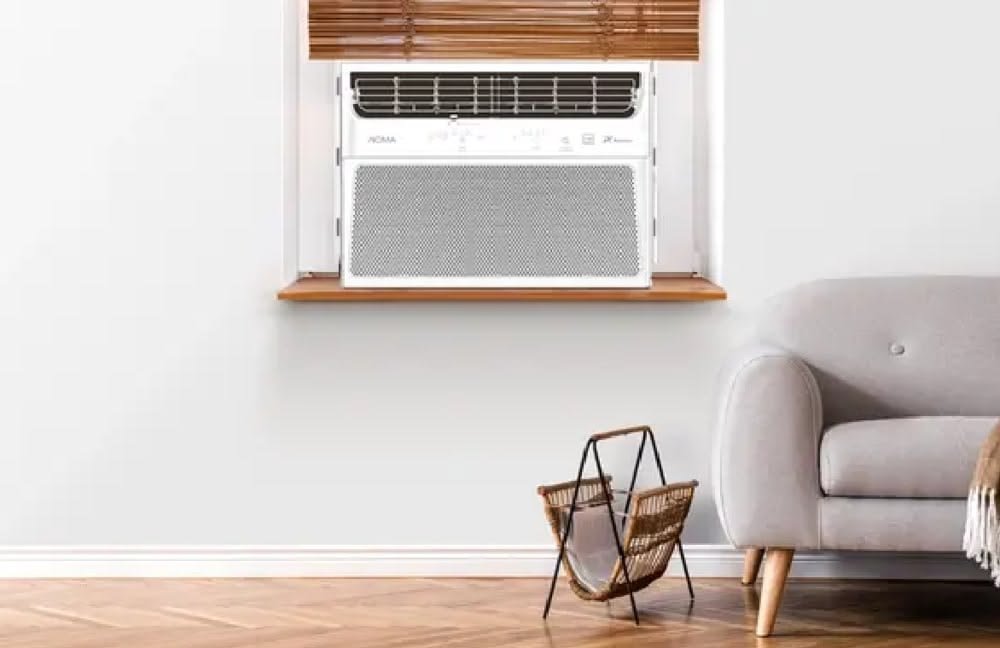
There’s something oddly satisfying about installing a window AC unit on your own. It feels like reclaiming control over your comfort, especially during those relentless summer afternoons when the air seems to stand still. Yet, if you’ve ever wrestled with a bulky unit, struggled to align it just right, or wondered why your room still feels warmer than it should, you already know that setup isn’t as simple as it looks.
Over the years, small lessons—often learned the hard way—have turned a frustrating chore into a smooth, almost intuitive process. What follows isn’t a technical manual filled with jargon, but a collection of practical, experience-shaped tricks that make a real difference. These are the things you usually learn after your third or fourth installation—but once you know them, you won’t go back.
- Start with the window, not the AC
Most people focus immediately on the unit itself. That’s a mistake. The real foundation of a good setup is the window. If the window frame is slightly uneven, loose, or warped, even the best AC unit will struggle to sit properly.
Before you even lift the AC, spend a few minutes inspecting the window. Does it close evenly? Are there small gaps along the edges? Is the sill level? A slightly tilted window frame can lead to improper drainage, causing water to collect inside the unit rather than flow outward.
A simple fix—like tightening screws, adding a thin wooden strip, or even adjusting the window track—can dramatically improve how the AC sits. It’s not glamorous work, but it’s the difference between a stable installation and one that constantly feels “off.”
- Don’t trust the foam that comes in the box
Manufacturers include foam insulation strips, but they’re often thin and not particularly durable. They work fine in ideal conditions, but real windows rarely qualify as ideal.
Instead of relying solely on the included foam, consider upgrading to thicker weatherstripping or even layering it. This extra cushioning not only seals gaps better but also reduces outside noise and prevents warm air from sneaking in.
It’s a small upgrade that pays off immediately. You’ll notice the room cooling faster, and your AC won’t have to work as hard to maintain the temperature.
- Give the unit a slight tilt outward
This is one of those details that feels counterintuitive at first. You might assume the AC should sit perfectly level, but that’s not quite right.
A slight outward tilt—just enough for water to drain outside—is essential. Without it, condensation can collect inside the unit, leading to dripping, musty smells, or even internal damage over time.
The key is subtlety. Too much tilt can affect performance, while too little defeats the purpose. A gentle slope, barely noticeable to the eye, is all you need.
- Secure it like it matters—because it does
Window AC units are heavy. Relying only on the window sash to hold the weight is risky, especially over time.
Brackets or support frames are often seen as optional, but they shouldn’t be. They take the strain off the window and provide long-term stability. Even if your unit feels secure initially, repeated vibrations can loosen its position.
Installing a support bracket might take an extra 15–20 minutes, but it eliminates a whole category of problems—from shifting units to potential safety hazards.
- Seal the sides with intention, not guesswork
Those expandable side panels look convenient, but they rarely create a perfect seal on their own. Small gaps often remain, especially in older or slightly irregular windows.
Instead of accepting those gaps, take a closer look once everything is in place. Use additional foam, tape, or even custom-cut insulation pieces to close every visible opening.
Think of it like closing a door properly. Even a tiny gap can let in warm air, dust, and noise. A fully sealed unit doesn’t just cool better—it feels quieter and more efficient.
- Check the power situation before installation
It’s surprisingly common to install the entire unit, only to realize the nearest outlet isn’t suitable. Either it’s too far, overloaded, or not rated for the AC’s power requirements.
Before you begin, locate the outlet you’ll use. Make sure it’s grounded and capable of handling the load. Avoid using extension cords whenever possible—they can overheat and reduce efficiency.
If the setup requires a bit of planning—like rearranging furniture or clearing a path for the cord—it’s far easier to handle that beforehand than after the AC is already in place.
- Clean the unit before first use
Even brand-new AC units can carry dust from manufacturing or storage. It’s not something most people think about, but running the unit without a quick check can circulate that dust into your room.
Take a few minutes to inspect the filter and vents. If needed, give them a gentle wipe or rinse (depending on the model). It’s a small step, but it ensures that the air you’re cooling is also clean.
- Test everything before sealing it completely
It’s tempting to finalize the installation quickly—seal all the gaps, tighten everything, and call it done. But there’s value in a short test run before you commit.
Turn the AC on and let it run for a few minutes. Listen for unusual noises. Check for vibrations. Feel around the edges for escaping air.
This “trial phase” helps you catch minor issues early. Maybe the unit needs a slight adjustment, or a panel isn’t sitting flush. Fixing these things now is far easier than undoing a fully sealed setup later.
- Think about airflow inside the room
Even a perfectly installed AC can struggle if the airflow inside the room is blocked. Furniture placement, curtains, and even wall angles can influence how cool air spreads.
Try to keep the area directly in front of the AC clear. Avoid placing large objects that obstruct airflow. If possible, use a small fan to help distribute the cool air more evenly.
This isn’t about the AC itself—it’s about how the room works with it. A little awareness here can make a noticeable difference in comfort.
- Make maintenance part of the setup mindset
Installation isn’t a one-time event. The way you set up your AC should make future maintenance easy.
Ensure you can access the filter without difficulty. Leave enough space to remove the unit if needed. Avoid sealing things so tightly that routine cleaning becomes a hassle.
When maintenance is easy, you’re more likely to do it regularly. And when you do that, your AC performs better, lasts longer, and keeps your space consistently comfortable.
A small reflection
What’s interesting about these tricks is how simple they are. None of them require advanced tools or technical expertise. Yet, together, they transform the entire experience.
It’s easy to assume that comfort comes from expensive equipment, but often, it’s the small decisions—the extra layer of foam, the slight tilt, the careful sealing—that make the biggest difference.
In a way, setting up a window AC is less about the machine and more about attention. Paying attention to details that are easy to overlook. Taking a little extra time where it counts. And learning, gradually, what works and what doesn’t.
FAQs
- How much tilt should a window AC have?
A slight tilt outward is enough—usually just a few degrees. The goal is to allow water to drain outside without affecting the unit’s internal balance. - Can I install a window AC without a support bracket?
While it’s possible, it’s not recommended. A support bracket adds stability and reduces strain on the window, making the installation safer and more durable. - Is it okay to use an extension cord for a window AC?
It’s best to avoid extension cords. AC units require a stable power source, and extension cords can overheat or reduce efficiency. - Why is my room not cooling even after proper installation?
This could be due to poor sealing, blocked airflow, or an AC unit that’s not appropriately sized for the room. Checking these factors usually helps identify the issue. - How often should I clean the AC filter?
Ideally, every two to four weeks during heavy use. A clean filter ensures better airflow and more efficient cooling. - What’s the best way to seal gaps around the AC?
Using high-quality weatherstripping, foam insulation, or a combination of both works best. The goal is to eliminate all visible gaps for maximum efficiency.
In the end, the difference between a frustrating setup and a smooth one often comes down to knowing these small, practical tricks. Once you do, installing a window AC stops feeling like a chore—and starts feeling like something you’ve mastered.