

10 Simple Window AC Installation Tips Anyone Can Follow
Installing a window AC might look simple from the outside, but anyone who has struggled with poor cooling, water leakage, or noisy operation knows there’s more to it than just sliding the unit into a window frame. A proper installation decides not only how well your room cools down but also how much electricity you consume and how long your AC lasts.
This guide breaks everything into simple, practical tips that anyone can follow—even if you’ve never installed an AC before.
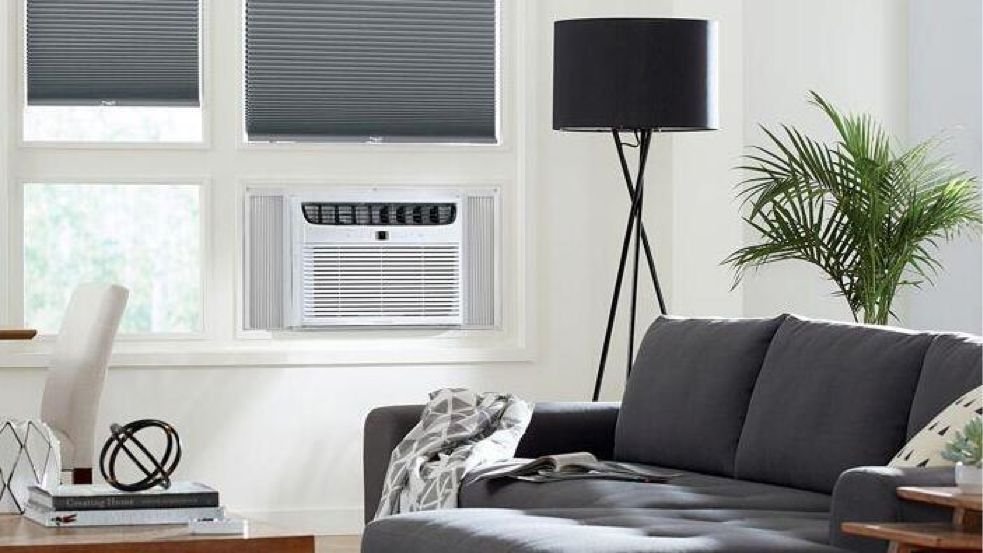
Tip 1: Choose the right window before anything else
Not all windows are suitable for installing a window AC. The first mistake many people make is forcing the unit into a space that isn’t structurally ideal.
Look for a window that:
- Is strong enough to support the AC weight
- Has a firm frame (wood or reinforced metal is best)
- Opens wide enough for airflow and fitting
- Is close to a power socket
Avoid weak aluminum frames or cracked walls. A poor window choice leads to vibration, noise, and even safety risks later.
Tip 2: Check AC size vs room size
Before installation, confirm that your AC capacity matches your room size. This is one of the most ignored steps.
General guide:
- Small room (up to 120 sq ft): 0.75–1 ton
- Medium room (120–180 sq ft): 1–1.5 ton
- Large room (180–250 sq ft): 1.5–2 ton
If your AC is too small, it will run constantly without cooling properly. If it’s too large, it will waste electricity and create uneven cooling.
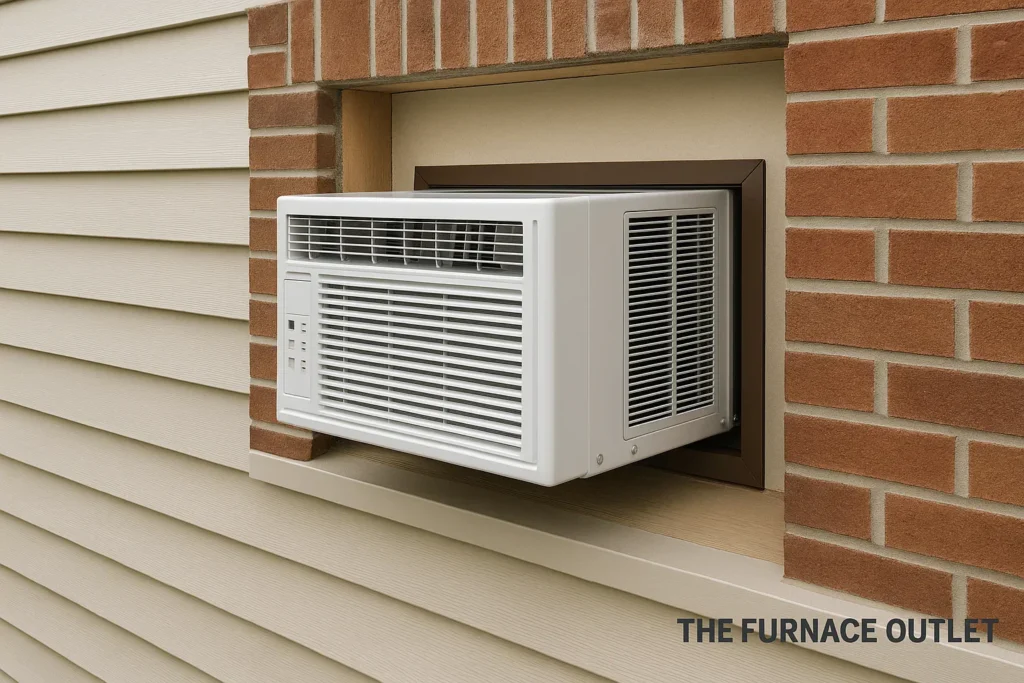
Tip 3: Ensure proper mounting support
A window AC is heavy. Even a 1-ton unit can weigh 25–40 kg. Never rely only on the window frame.
Use:
- Metal brackets
- Strong wooden support frame
- Extra angle iron support if needed
Make sure the support is tightly fixed into the wall, not just resting on the window sill. A shaky installation can become dangerous over time.
Tip 4: Maintain slight outward tilt for drainage
One of the most important installation secrets is the tilt angle.
The AC must be slightly tilted outward so that:
- Condensed water drains outside
- No water leaks inside the room
- Internal tray doesn’t overflow
A small tilt of about 2–3 degrees is usually enough. Too much tilt, however, can affect compressor stability.
Tip 5: Seal all gaps properly
Air leakage is one of the biggest reasons people feel their AC is “not cooling enough.”
After placing the AC:
- Fill side gaps with foam strips
- Use insulation tape or weatherproof sealant
- Block any open spaces around the frame
Even small gaps allow hot air, dust, and insects inside, reducing efficiency.
Tip 6: Ensure correct electrical setup
Never ignore the electrical side of installation. A window AC draws significant power, especially during startup.
Make sure:
- Dedicated socket is used
- No extension boards are overloaded
- Wiring is properly grounded
- Circuit breaker is rated correctly
If your lights flicker when the AC starts, your wiring may need upgrading.
Tip 7: Keep airflow around the outdoor side clear
The back side of the AC releases hot air. If it gets blocked, cooling performance drops significantly.
Avoid placing:
- Curtains behind the outdoor unit
- Furniture too close
- Closed boxes or covers
Good airflow helps the compressor work efficiently and prevents overheating.
Tip 8: Install at proper height
Height matters more than most people think. A window AC should not be too low or too high.
Ideal placement:
- Around 3 to 4 feet from the floor (indoors)
- Enough clearance outside for ventilation
Too low = dust intake and safety issues
Too high = poor airflow circulation in the room
Tip 9: Test before final sealing
Before sealing everything permanently:
- Turn the AC on
- Check cooling performance
- Listen for unusual vibration
- Ensure water is draining outside
This step saves you from redoing the whole installation later.
Many people skip this and only discover issues after sealing everything.
Tip 10: Do a stability and vibration check
Once installed, gently check the unit:
- Does it shake when running?
- Is there excessive noise?
- Are screws tightly fixed?
If vibration exists, reinforce brackets or add rubber padding between contact points. This reduces noise and extends the AC’s life.
Extra practical advice many people ignore
Even after perfect installation, a few small habits improve performance:
- Clean filters every 2–3 weeks
- Don’t block airflow with curtains or furniture
- Use curtains to reduce direct sunlight
- Run AC at moderate temperature (24–26°C is ideal)
These small actions can reduce electricity bills significantly.
Common installation mistakes to avoid
People often repeat the same errors:
- Installing without proper support
- Ignoring drainage tilt
- Using thin extension cords
- Blocking air vents outside
- Poor sealing around edges
Avoiding these alone can improve performance by a large margin.
FAQs
- Can I install a window AC without professional help?
Yes, but only if you have proper tools and a strong mounting setup. For heavy units or weak windows, professional help is safer. - Why does my window AC leak water inside the room?
This usually happens due to improper tilt or blocked drainage pipes. - How tight should the window AC fit?
It should be snug and stable, but not forced. Over-tight fitting can damage the frame or unit. - Do I need a stabilizer for window AC?
Most modern ACs have built-in protection, but in areas with voltage fluctuations, a stabilizer is still recommended. - What is the best temperature setting for efficiency?
Around 24°C to 26°C provides good cooling while saving electricity. - How often should I service a window AC?
At least once a year for general servicing, and filter cleaning every few weeks.