

6 Easy Window AC Maintenance Steps for Beginners
Introduction
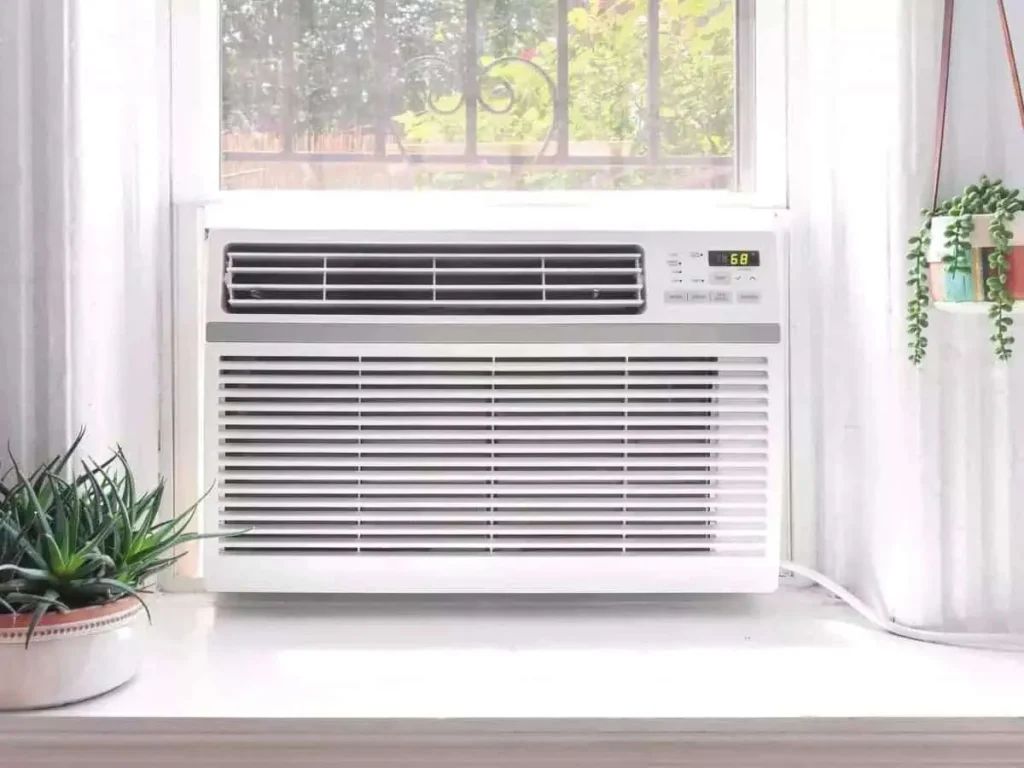
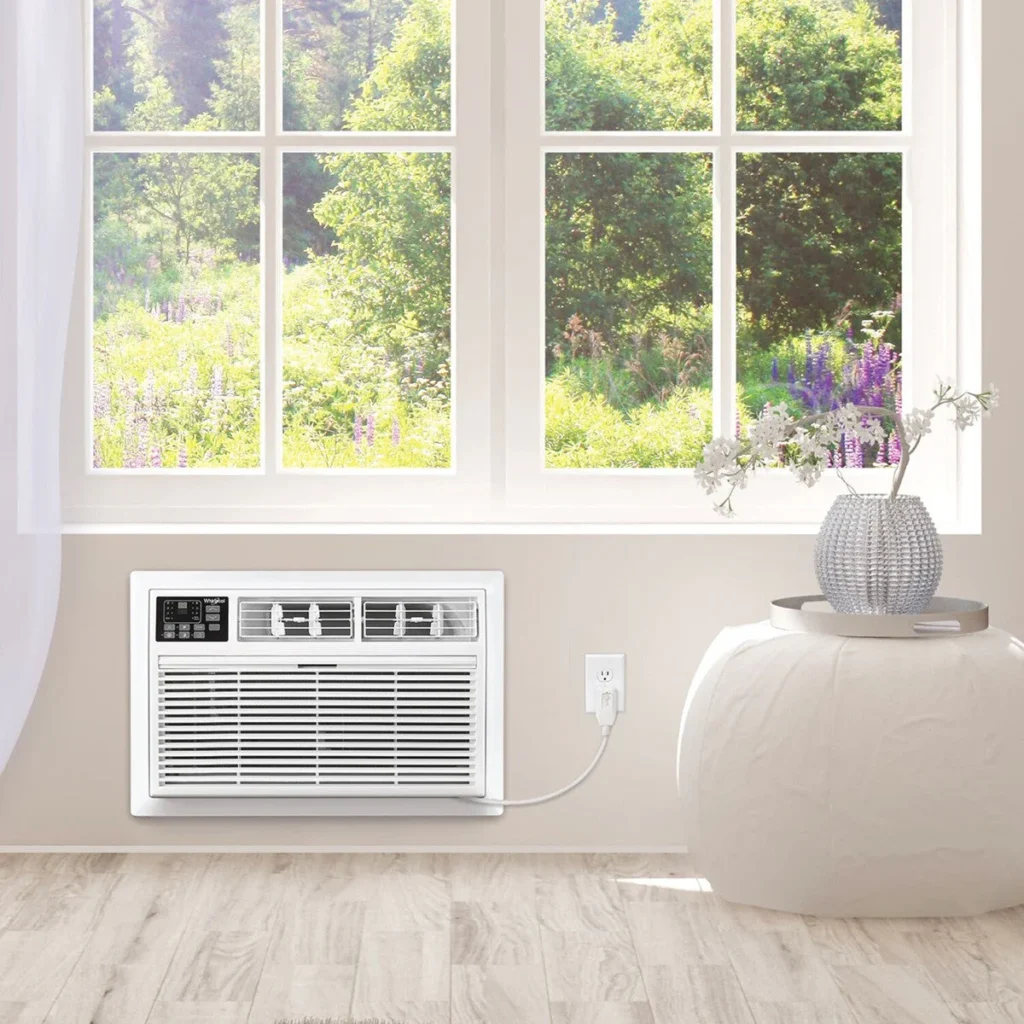
A window air conditioner is one of the most common cooling solutions in homes, especially in warm regions where summers can become extremely uncomfortable. It is compact, affordable, and effective, but like any machine, it needs regular care to perform well. Many people assume that an AC will keep working efficiently on its own, but the truth is quite different. Dust, dirt, and lack of maintenance can slowly reduce cooling, increase electricity bills, and even shorten the lifespan of the unit.
The good news is that maintaining a window AC is not complicated. You don’t need to be a technician or spend a lot of money. With a few simple steps done regularly, you can keep your AC running smoothly, improve its cooling performance, and save on repair costs. This guide explains six easy maintenance steps that even complete beginners can follow at home.
Step 1: Always start with safety before anything else
Before touching your window AC, the first and most important step is ensuring safety. Many beginners ignore this and start cleaning or opening parts while the unit is still connected to electricity, which can be dangerous.
Begin by switching off the AC from the main power supply. Do not rely only on the remote or control knob. Unplug the unit completely or turn off the circuit breaker connected to it. This prevents any risk of electric shock or accidental damage while working on the internal parts.
Once the power is off, let the unit sit for a few minutes. This allows internal components like the compressor and coils to settle. It may sound like a small step, but it is the foundation of safe maintenance. Without it, even simple cleaning can become risky.
After ensuring safety, you are ready to move to the next step with confidence.
Step 2: Clean or replace the air filter regularly
One of the most important parts of a window AC is the air filter. Its job is to trap dust, dirt, and airborne particles so that clean air circulates in your room. Over time, this filter becomes clogged, which restricts airflow and forces the AC to work harder.
When airflow is blocked, cooling becomes weak and electricity consumption increases. In many cases, people complain that their AC is not cooling properly, when in reality the filter is just dirty.
To clean the filter, open the front panel of the AC unit. Carefully slide out the filter without bending it. If it is washable, rinse it gently under running water. You can use mild soap if the dirt is heavy. Avoid using hot water or harsh chemicals because they can damage the mesh.
After washing, let the filter dry completely in the shade. Do not place it under direct sunlight, as it can weaken the material. Once dry, reinstall it properly in the same position.
If the filter is too old or damaged, it is better to replace it instead of cleaning. A fresh filter ensures better airflow and improves cooling efficiency instantly.
Step 3: Keep the evaporator and condenser coils clean
Inside every window AC, there are coils that play a major role in cooling. The evaporator coil absorbs heat from the room, while the condenser coil releases it outside. When these coils get dirty, heat transfer becomes less efficient.
Dust buildup on coils is common, especially in areas with pollution or open windows. Over time, this layer of dirt acts like insulation and reduces the cooling performance of your AC.
To clean the coils, you need to be gentle. Use a soft brush or a small vacuum cleaner to remove loose dust. Avoid bending the fins, as they are delicate and important for airflow. If the dirt is sticky or heavy, you can use a coil cleaner spray available in the market.
Spray lightly and allow it to sit for a few minutes before wiping gently. Do not use excessive force. The goal is to remove dirt without damaging the thin metal fins.
Cleaning the coils once or twice a season can significantly improve cooling and reduce energy consumption.
Step 4: Clear the drainage system to prevent water leakage
One common issue with window ACs is water dripping inside the room. This usually happens when the drainage system is blocked. As the AC cools the air, it also removes humidity, which turns into water. This water needs a clear path to flow outside.
If dust, algae, or debris blocks the drain pipe, water starts accumulating and eventually leaks inside.
To fix this, locate the drainage outlet at the back of the AC. Check if water is flowing freely. If not, gently clean the drain hole using a thin wire or pipe cleaner. Be careful not to damage the pipe.
You can also flush a small amount of clean water through the system to clear minor blockages. In some cases, adding a few drops of mild disinfectant helps prevent algae buildup.
Keeping the drainage system clear not only prevents leakage but also avoids unpleasant odors inside the room.
Step 5: Wipe and clean the exterior and internal housing
The outer body of the AC is often ignored, but it plays an important role in overall hygiene and performance. Dust buildup on the exterior can eventually enter internal parts if not cleaned regularly.
Use a soft damp cloth to wipe the outer surface of the AC. Avoid using too much water, as moisture can seep into electrical parts. Pay attention to air vents and grills where dust tends to accumulate.
If the front panel is removable, clean it separately for better results. A small brush can be used to remove dust from narrow spaces.
Keeping the outer body clean not only improves appearance but also prevents dust from entering internal components, which helps the AC stay efficient for longer periods.
Step 6: Check installation and airflow direction
Many beginners overlook installation issues, but they can have a big impact on performance. A window AC must be installed in a slightly tilted position so that water drains properly outside. If the angle is incorrect, it may cause leakage or reduced efficiency.
Check that the AC is firmly fixed in the window frame. Any gaps around the sides should be sealed properly to prevent warm air from entering the room. You can use foam strips or insulation tape for sealing small gaps.
Also, adjust the airflow direction inside the room. The cool air should circulate evenly instead of being blocked by furniture or curtains. Proper airflow distribution helps maintain consistent temperature and reduces pressure on the unit.
Good installation and airflow management can make even an older AC perform better.
Conclusion
Maintaining a window AC does not require technical skills or expensive tools. With just a little attention and regular care, you can significantly improve its performance and lifespan. The six steps discussed above—ensuring safety, cleaning filters, maintaining coils, clearing drainage, cleaning the exterior, and checking installation—are simple but highly effective.
Most AC problems start with neglect, not mechanical failure. When dust and dirt are controlled early, the system runs smoothly without stress. Even beginners can follow these steps and notice a clear difference in cooling and electricity usage.
By making these habits part of your routine, your window AC will stay efficient, reliable, and ready for the hottest days of summer.
FAQs
- How often should I clean my window AC filter?
It is recommended to clean the filter every two to four weeks during heavy usage. If the environment is dusty, more frequent cleaning may be needed. - Can I wash AC coils with water?
Light cleaning with a coil cleaner or minimal water is fine, but avoid direct strong water pressure as it can damage the fins. - Why is my window AC leaking water inside the room?
This usually happens due to a blocked drainage pipe or improper installation angle. Cleaning the drain usually fixes the issue. - Does regular maintenance reduce electricity bills?
Yes, a clean and well-maintained AC runs more efficiently, reducing energy consumption and lowering electricity costs. - Can beginners safely clean a window AC at home?
Yes, basic cleaning like filters, exterior, and drainage can be safely done at home if the power is turned off. - When should I call a technician instead of doing it myself?
If there is a compressor issue, gas leakage, or electrical fault, it is best to contact a professional technician.