

8 proven window AC mounting tips for maximum efficiency
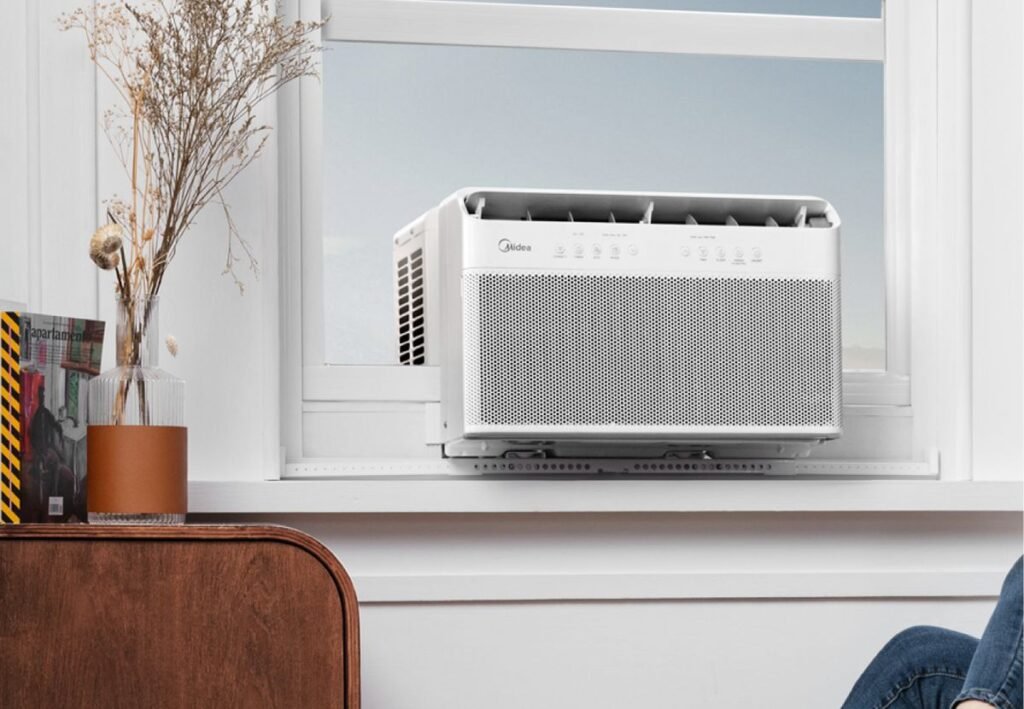
There is a certain moment at the beginning of summer when the heat stops being a background inconvenience and starts feeling like a daily opponent. In that moment, a window air conditioner becomes less of an appliance and more of a lifeline. But here’s the part most people underestimate: how you mount it matters just as much as which model you buy.
A poorly mounted window AC can quietly waste energy, struggle to cool, drip water in all the wrong places, and shorten its own lifespan. On the other hand, a well-mounted unit works with the room, not against it. It cools faster, runs less, and stays reliable even through long heat waves.
This guide goes beyond basic instructions. Instead of repeating generic advice, it walks through practical, field-tested insights—things that are often learned the hard way. Each tip builds on real-world experience, helping you turn a simple installation into an efficient cooling system.
Tip 1: choose the right window before you even open the box
Efficiency starts before the AC unit is even lifted. The window you choose has a direct impact on performance, airflow, and energy consumption.
A common mistake is selecting the most convenient window rather than the most strategic one. For example, placing a unit in a window that receives direct afternoon sunlight forces the AC to fight constant heat gain. The compressor runs longer, electricity usage climbs, and cooling feels inconsistent.
Instead, look for a window that stays shaded during peak heat hours. North-facing or east-facing windows are often ideal. If that’s not possible, consider external shading like awnings or even temporary fabric covers.
Another overlooked factor is room positioning. If the AC is installed in a corner room or far from the main living space, airflow distribution suffers. Ideally, the unit should face the area where people spend the most time. Cooling the hallway while the bedroom remains warm defeats the purpose.
Think of the window not just as a hole in the wall, but as the starting point of your cooling system.
Tip 2: ensure a tight seal to eliminate invisible energy leaks
Even a powerful AC unit becomes inefficient if cool air escapes faster than it’s produced. Gaps around the unit are silent energy drains.
Most window AC units come with basic foam strips. They work, but only if installed carefully. Many people rush this step, leaving small gaps along the sides or top. These gaps allow warm air to enter and cool air to exit, forcing the AC to run longer cycles.
A better approach is to double-layer your sealing strategy. Start with the provided foam, then reinforce it with weatherstripping or insulating panels. Pay close attention to the accordion side panels—they are often the weakest point.
Run your hand along the edges after installation. If you feel even a slight draft, there’s room for improvement.
Another trick is to seal the interior side with removable caulk or draft tape. This creates a tighter barrier without making the installation permanent.
Efficiency isn’t just about cooling power—it’s about keeping that cool air where it belongs.
Tip 3: maintain a slight outward tilt for proper drainage
Water management is one of the most misunderstood aspects of window AC installation.
During operation, the unit pulls moisture from the air. This condensation needs somewhere to go. If the AC is perfectly level—or worse, tilted inward—water can pool inside the unit or leak into the room.
A slight outward tilt allows gravity to do the work. The water drains safely outside, preventing internal buildup and potential damage.
The tilt doesn’t need to be dramatic. In fact, too much tilt can reduce efficiency by affecting internal components. A gentle slope—just enough to encourage drainage—is ideal.
Some newer models are designed to retain a small amount of water for cooling the condenser. Even in these cases, proper tilt ensures excess water exits as intended.
This small adjustment can prevent long-term issues like mold growth, rust, or unexpected leaks.
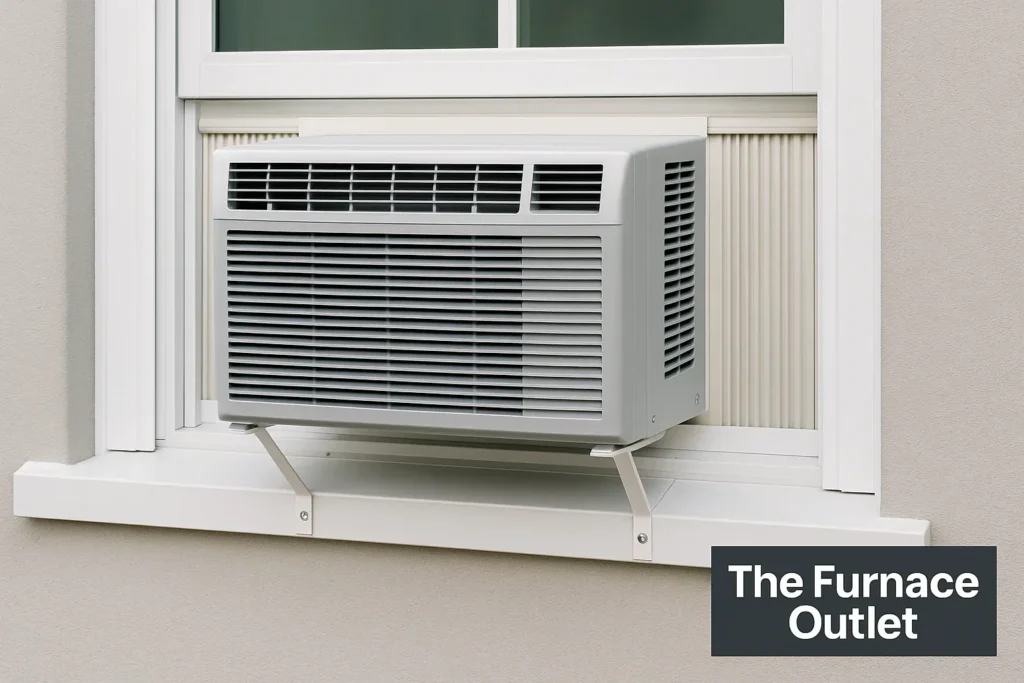
Tip 4: secure the unit firmly to prevent vibration and air gaps
A window AC that isn’t securely mounted does more than rattle—it loses efficiency.
Vibration can create micro-gaps around the frame, allowing air leakage. It can also strain internal components, reducing the lifespan of the unit.
Most installations rely solely on the window sash to hold the AC in place. While this might work temporarily, it’s not the most stable solution.
Use mounting brackets or support brackets whenever possible. These not only provide additional safety but also stabilize the unit, reducing movement during operation.
Check for movement after installation. Gently push the unit from different angles. If it shifts or feels loose, it needs reinforcement.
A stable AC runs quieter, cools more effectively, and experiences less wear over time.
Tip 5: avoid blocking airflow inside and outside
Air conditioners are designed around airflow. Restrict it, and efficiency drops immediately.
Inside the room, avoid placing furniture directly in front of the unit. Curtains, sofas, or shelves can block the cool air stream, creating uneven temperatures. The AC works harder to compensate, but the room still feels inconsistent.
Outside, the condenser needs space to release heat. Installing the unit too close to walls, railings, or other obstacles traps hot air around the unit. This makes the cooling process less effective.
Ideally, leave at least a few inches of clearance on all sides of the outdoor portion. More space is always better.
Also, keep the exterior clean. Dust, leaves, or debris can accumulate over time, restricting airflow. A quick inspection every few weeks can make a noticeable difference.
Think of airflow as the breathing system of your AC. If it’s restricted, everything else suffers.
Tip 6: install at the correct height for optimal cooling distribution
Height plays a subtle but important role in how effectively a room is cooled.
Warm air rises, and cool air sinks. Installing a window AC too low can limit its ability to circulate cool air throughout the room. The immediate area feels cold, but the upper portion remains warm.
On the other hand, placing it too high can make maintenance difficult and reduce accessibility.
A balanced approach is best. Install the unit at a height where it can distribute air across the room without obstruction—typically around mid-window level.
If your room has a ceiling fan, use it to assist with air circulation. This helps distribute cool air evenly, reducing the workload on the AC.
Efficiency isn’t just about producing cold air—it’s about spreading it effectively.
Tip 7: protect the unit from direct sun and weather exposure
External conditions have a direct impact on how hard your AC has to work.
When the unit is exposed to direct sunlight, especially during peak hours, the metal casing heats up. This added heat load reduces efficiency, forcing the compressor to work harder.
A simple shade—like an awning, canopy, or even a strategically placed board—can significantly improve performance.
Rain is another factor. While window AC units are built to handle weather, excessive exposure can lead to long-term wear. Water entering certain areas can affect electrical components or cause corrosion.
If possible, position the unit where it’s partially sheltered. Even small adjustments can make a noticeable difference over time.
Protecting your AC isn’t about overengineering—it’s about reducing unnecessary stress on the system.
Tip 8: test, observe, and fine-tune after installation
Installation isn’t complete the moment the unit turns on. The real efficiency gains come from observation and adjustment.
After running the AC for a few hours, check for signs of inefficiency. Is the room cooling evenly? Are there hot spots? Do you feel drafts near the unit?
Listen for unusual noises. Vibrations, rattling, or excessive humming can indicate mounting issues.
Check for water drainage. Make sure condensation is flowing outside as expected.
Feel the airflow. It should be strong and consistent. Weak airflow might indicate blockages or installation issues.
Small tweaks—adjusting the tilt, reinforcing seals, repositioning furniture—can make a big difference.
Think of this step as tuning an instrument. The initial setup gets you close, but fine-tuning brings out the best performance.
bringing it all together
Mounting a window AC is often treated as a quick task, something to get done before the heat becomes unbearable. But taking a little extra time to do it right transforms the entire experience.
Each of these tips works on its own, but their real power comes from combination. A well-chosen window, tight sealing, proper tilt, secure mounting, unobstructed airflow, optimal height, protection from elements, and thoughtful fine-tuning—all of these create a system that runs efficiently and reliably.
The result isn’t just a cooler room. It’s lower energy bills, quieter operation, and a longer-lasting appliance.
In the end, efficiency isn’t about doing one thing perfectly. It’s about doing several small things correctly and consistently.
frequently asked questions
- how much tilt should a window AC have?
A slight outward tilt is enough—usually around half an inch. The goal is to allow water to drain outside without affecting the internal balance of the unit.
- can I install a window AC without side panels?
It’s possible, but not recommended. Side panels help seal the gap between the unit and the window frame. Without them, you’ll need an alternative sealing method to prevent air leaks.
- is it necessary to use support brackets?
While not always required, support brackets are highly recommended. They provide stability, reduce vibration, and add an extra layer of safety—especially for heavier units.
- why is my window AC not cooling efficiently after installation?
Common causes include poor sealing, blocked airflow, incorrect tilt, or exposure to direct sunlight. Reviewing these factors usually helps identify the issue.
- how often should I check the installation?
It’s a good idea to inspect the unit every few weeks during heavy use. Look for loose fittings, blocked airflow, and proper drainage.
- does window height really affect cooling?
Yes, it does. Proper height helps distribute cool air more evenly throughout the room, improving overall comfort and efficiency.
A window AC doesn’t need to be complicated, but it does need attention. The difference between average performance and excellent efficiency often comes down to details that are easy to overlook—but just as easy to get right once you know what to look for.