

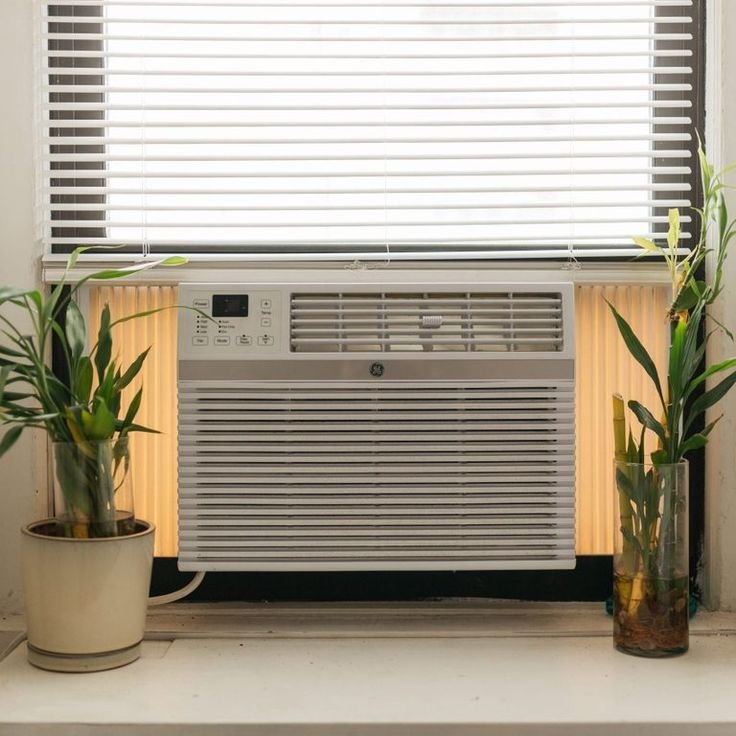
Last summer, I crammed a brand-new window AC unit into my 10×12 bedroom and spent the next three weeks wondering why it felt like a sauna in there. The unit was running non-stop, my electricity bill was climbing, and the airflow was… questionable at best. Turns out, I was doing almost everything wrong — not with the AC itself, but with how I set it up.
Small rooms have their own quirks. You’d think less space means easier cooling, but honestly, that’s where most people trip up. The wrong placement, a bad seal, or even which direction the vents face can completely ruin your cooling experience. After a lot of trial and error (and one very sweaty July), I finally figured out what actually works.
Here’s everything I wish someone had told me before I installed mine.
1. Pick the Right BTU — Not Too Much, Not Too Little
This one surprised me. I thought buying a more powerful AC would mean faster, better cooling. So I grabbed a 12,000 BTU unit for my small room. Big mistake.
Oversized ACs cool the air too quickly without removing enough humidity. So the room felt cold and clammy — not refreshing at all. It also kept short-cycling, which means it turned on and off repeatedly, which is actually terrible for the compressor long-term.
For small rooms, here’s a rough guide:
| Room Size (sq ft) | Recommended BTU |
|---|---|
| Up to 150 sq ft | 5,000 BTU |
| 150–250 sq ft | 6,000 BTU |
| 250–350 sq ft | 7,000–8,000 BTU |
| 350–450 sq ft | 9,000–10,000 BTU |
Stick close to this range. If anything, go slightly under rather than over for a small room.
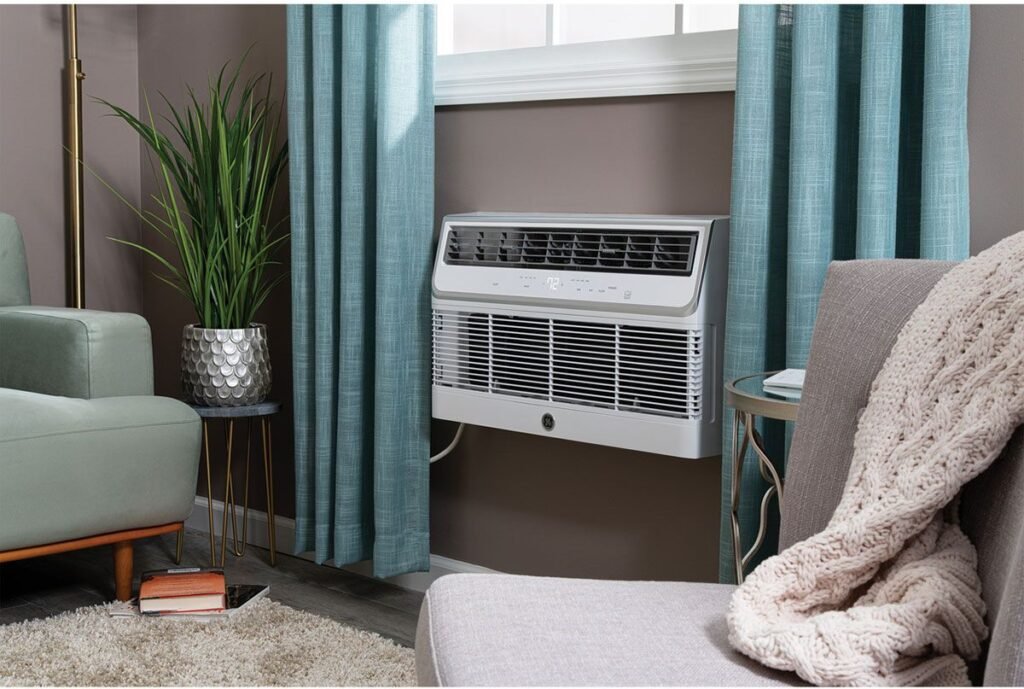
2. Choose the Right Window — It’s Not Always the Obvious One
Most people just pick the most convenient window. I did too. But there’s actually a smart way to think about this.
Ideally, you want a window that’s:
- Shaded for most of the day — direct sunlight hitting the back of the AC unit makes it work harder
- Centrally located in the room — so cool air reaches all corners
- Away from your bed or couch — you don’t want cold air blasting directly at you all night
In my room, I had two window options. I originally chose the one near my desk (convenient for the outlet). But that window faced west, meaning afternoon sun was cooking the unit every single day. Switching to the north-facing window dropped the room temperature noticeably within a couple of days.
Also, check out these smart window AC installation tips if you’re setting up for the first time — they cover a lot of the stuff installers don’t usually mention.
3. The Seal Is Everything — Don’t Skip This
This is probably the single most impactful thing I’ve learned. A poorly sealed window AC is basically an open window with a fan in it. All your cold air leaks out, and warm outside air constantly seeps in.
After installation, run your hand slowly around the entire perimeter of the unit — top, sides, and bottom. If you feel any airflow, you have a leak.
Here’s what to use to seal it properly:
- Foam weatherstripping tape — cheap, easy to apply, great for the top and sides
- Insulating side panels — most ACs come with accordion panels, but they’re flimsy. Replace them with foam board insulation cut to size
- Rope caulk — temporary, removable at the end of the season, works great for gaps between the window frame and the unit
I used a combination of all three, and my room started cooling about 20% faster just from eliminating those air leaks. It sounds tedious but takes maybe 30 minutes and makes a massive difference.
4. Level the Unit — Slightly Tilted Back
This one is easy to mess up if you’re not paying attention. Window ACs need to be installed with a very slight tilt toward the outside — usually about 1/2 inch lower on the exterior side.
Why? Because condensation needs to drain out the back. If the unit is level or tilted inward, water collects inside, which can cause leaking, mold, and damage to the unit.
Use a small bubble level when installing. Most units come with mounting brackets that allow for this tilt adjustment. Don’t eyeball it — take two minutes to actually check it.
I skipped this step on my first install and ended up with water dripping down my interior wall two weeks later. Lesson learned the messy way.
5. Don’t Block the Airflow — Inside or Outside
Inside the room, leave at least 18–24 inches of clearance in front of the AC. No curtains hanging in front of it, no furniture blocking the vents, nothing. I’ve seen people push a bookshelf right up against the unit because it “fits perfectly.” The AC will struggle to circulate air and the room will never cool evenly.
Outside the unit also needs breathing room. The condenser coils on the back need to dissipate heat. If there’s a bush, wall, or AC cover directly behind the unit, heat gets trapped and efficiency drops fast.
Also, consider the vent direction. Many window ACs let you adjust the louvers. For a small room, angle them toward the center of the room and slightly upward — cool air naturally falls, so sending it up first means better overall distribution.
6. Pre-Cool the Room Before You Sleep
This is a habit more than a setup tip, but it’s changed my life. Instead of turning on the AC right when I’m about to sleep, I run it on high for about 20–25 minutes before I actually go to bed.
The room hits your target temp while you’re still in the living room or bathroom. By the time you walk in, it’s already comfortable. Then you can drop it to a lower fan setting or even “energy saver” mode, which cycles the compressor on and off automatically.
For small rooms specifically, this works really well because the space is easier to pre-cool. You’re not fighting a large volume of warm air once you’re already sweating in bed.
Pair this with these energy-saving tricks for window ACs and you can realistically cut your cooling costs by 15–25%.
7. Set It and Forget It — Use a Timer or Smart Plug
One thing I didn’t do for way too long: use a timer. I was manually turning the AC on and off, which meant it was either running all night (cold and wasteful) or I’d wake up sweating because I turned it off too early.
The fix was simple. I grabbed a basic mechanical outlet timer (they cost around $10 on Amazon) and set it to turn the AC on 30 minutes before I usually wake up, and off automatically at a certain time at night.
If your AC has a built-in timer, even better — use it. Newer units also work with smart plugs like the TP-Link Kasa or Amazon Smart Plug, so you can schedule them through an app.
For a small room, you genuinely don’t need the AC running all night. Once the room is cool, it stays that way for a while. A well-timed 45-minute burst can keep things comfortable without the unit running 8 hours straight.
8. Clean the Filter Before First Use — And Every 2 Weeks After
Brand new out of the box, most window ACs still have manufacturing dust or packaging debris in the filter. I learned this after noticing a weird smell the first time I ran mine. Pull the front panel, take the filter out, rinse it under water, let it dry completely, and then reinstall.
After that, commit to cleaning it every two weeks during heavy use. A clogged filter is the number one reason small room ACs underperform. When airflow is restricted:
- The unit has to work harder to push air
- Cooling efficiency drops noticeably
- Electricity consumption goes up
- The evaporator coils can actually freeze over
The whole cleaning process takes five minutes. Slide out the filter, rinse it, let it air dry, put it back. That’s it.
If you want a full cleaning routine (including the coils and drainage), this complete window AC cleaning guide walks through everything step by step.
9. Use a Fan to Help Distribute Cool Air
This might sound counterintuitive — if your AC is working properly, why do you need a fan? But in a small room with awkward layouts (think L-shaped or rooms with closets and alcoves), the cool air from the AC can pool near one part of the room and not reach the rest.
A small desk fan or tower fan placed opposite the AC unit and pointed at an angle helps circulate that cold air throughout the entire space. You’re not trying to cool with the fan — you’re just moving the cool air around.
This setup let me actually lower the AC temperature by 2 degrees without feeling any less comfortable, because the air was being distributed properly. Less work for the compressor, better coverage for me.
Common Mistakes That Kill Small Room Cooling
Here’s a quick rundown of things I’ve seen (and done) that make window ACs way less effective:
| Mistake | Why It Hurts |
|---|---|
| Wrong BTU size | Over/under cooling, humidity problems |
| Poor window seal | Constant heat infiltration |
| Blocking front vents | Reduced airflow, uneven cooling |
| Installing perfectly level | Water collects inside, causes leaks |
| Never cleaning the filter | Restricted airflow, higher bills |
| Running it 24/7 | Faster wear, unnecessary cost |
| Ignoring outside clearance | Heat buildup, compressor strain |
Most of these take five minutes or less to fix once you know about them.
One Last Thing Worth Knowing
Setting up a window AC in a small room is genuinely one of those things that looks simple but has a dozen small details that add up. None of them are complicated on their own — but get several of them wrong at once and you’ll spend the whole summer frustrated.
The good news is that once you’ve set it up properly, maintained the filter, and got your timer situation sorted, it basically runs itself. My current setup costs me noticeably less per month than it did that first chaotic summer, and the room feels comfortable within 15 minutes of turning it on.
If you’re just getting started or thinking about a reinstall, this guide on common window AC installation mistakes to avoid is honestly a great place to spend 10 minutes before you pick up a screwdriver.
Get the basics right, and the cooling will follow.