

Last summer, I made every rookie mistake in the book. I slapped my window AC unit into the nearest available window, cranked it to full blast, then wondered why my room still felt like the inside of a clay pot by 3 PM. It took me two sweaty weeks, one frustrated HVAC guy friend, and way too many YouTube rabbit holes to figure out what I was actually doing wrong.
Turns out, how you set up a window AC matters just as much as which AC you buy. The difference between a unit that cools your room in 20 minutes versus one that runs for hours without making a dent is almost always in the setup, not the machine.
So here’s everything I’ve learned — some from research, most from messing up first.
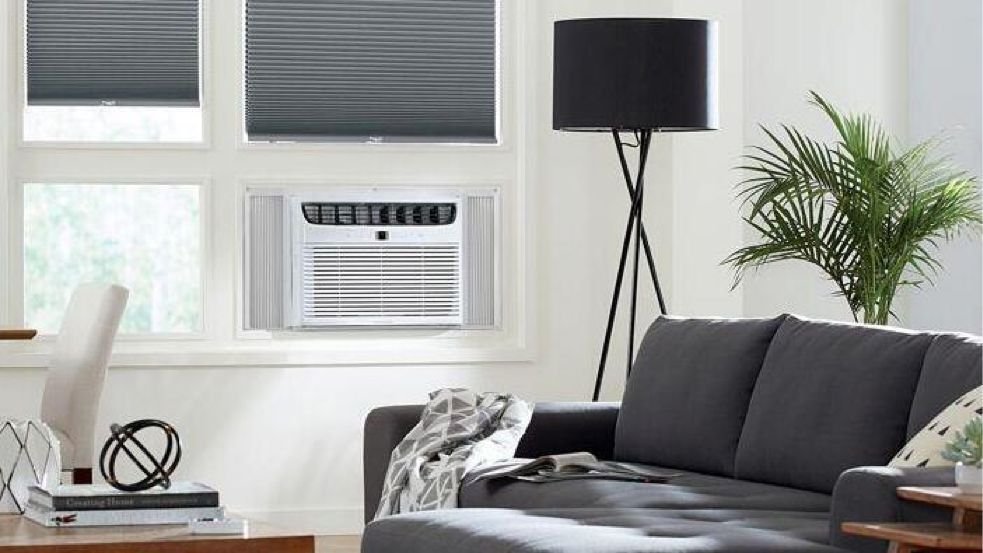
1. Pick the Right Window
Most people just pick the window that’s most convenient. Big mistake.
The window you choose determines how efficiently your AC fights the heat. Here’s what you actually want:
- A window on the shadier side of your home. East or north-facing windows get less direct afternoon sun, meaning the unit isn’t fighting radiant heat from outside while trying to cool inside.
- Away from the kitchen if possible. Cooking heat leaks through walls and messes with cooling significantly.
- Centrally located in the room, not jammed into a corner. Cool air needs to circulate, and corner placement creates dead spots.
I moved my unit from a west-facing window to a north-facing one mid-summer, and within two days I noticed the room hitting my target temp a full 30 minutes faster. Same unit, different window.
2. Seal Every Gap Like You Mean It
This is the one step almost everyone half-does, and it kills efficiency more than anything else.
Your window AC kit comes with foam strips and accordion side panels. Use all of them — and then go further. Those accordion side panels? They flex and warp over time. Hot outdoor air seeps through the tiny gaps, basically pumping heat directly into your room while your AC tries to cool it.
What actually works:
- Use foam weatherstripping tape (available at any hardware store for under $5) along the top and sides of the unit where it meets the window frame.
- For the accordion panels, I use a strip of packing foam behind them where they meet the window channel. It sounds hacky but it works incredibly well.
- Put a folded towel or draft stopper along the bottom of your bedroom door to trap the cool air inside the room.
The goal is a closed loop. Cool air stays in, hot air stays out. Every gap is a betrayal of your electricity bill.
3. Level the Unit — But Tilt It Slightly Outward
Here’s something that confused me for a while. You want the unit to be level side-to-side (so it doesn’t strain and vibrate), but you actually want a very slight tilt backward, toward the outside. Usually about ¼ inch lower on the exterior side.
Why? Because water condensation needs somewhere to drain. If the unit is perfectly level or tilts inward, that water collects inside, leads to mold growth, and can eventually drip onto your floor or windowsill.
Use a cheap bubble level. Most units mention this in the manual — but let’s be honest, nobody reads the manual until something goes wrong.
4. Clean the Filter Before First Use (Even on a New Unit)
New out of the box doesn’t mean ready to run. Filters on brand new units often have manufacturing dust, cardboard fibers, and packaging debris caught in them. Stick it in and run it dirty, and you’re already restricting airflow from day one.
Pull out the filter — it usually slides right out from the front grille — rinse it under warm water, let it dry completely, then reinstall.
For ongoing maintenance, check it every two weeks during heavy use. A clogged filter is the single most common reason a window AC blows air that isn’t actually cold. Here are some more detailed window AC cleaning tips that go deep into filter care and coil cleaning if you want to do a thorough job from the start.
5. Don’t Oversize (Or Undersize) Your Unit
There’s a widespread myth that bigger always means better with AC. It doesn’t — and I learned this the hard way.
An oversized unit will cool the room quickly but cycle off before removing enough humidity, leaving the air feeling cold but clammy and damp. It’s like wearing a wet t-shirt in a refrigerator.
Use this rough guide:
| Room Size | Recommended BTU |
|---|---|
| Up to 150 sq ft | 5,000 BTU |
| 150–250 sq ft | 6,000 BTU |
| 250–350 sq ft | 7,000–8,000 BTU |
| 350–450 sq ft | 9,000–10,000 BTU |
| 450–550 sq ft | 12,000 BTU |
Adjust upward by 10% if the room gets heavy direct sunlight, or if it’s a kitchen. Adjust downward slightly for heavily shaded rooms.
If you’re setting up for a small apartment room, this setup guide specifically for apartments is worth a read — it covers BTU selection alongside practical installation constraints you’ll actually run into.
6. Keep the Coils and Vents Clear on Both Sides
The back of your window AC — the part that faces outside — needs airflow to dump the heat it’s pulling from your room. If there’s a bush, an awning, or even just a wall too close, it can’t exhaust properly and efficiency tanks.
Ideally, there should be at least 12–18 inches of clearance behind the unit outside. If your window is recessed or there’s an overhang, that can be a problem.
Inside, keep furniture and curtains away from the front grille. I used to have my curtain blowing directly over the vents — I thought it was spreading cool air around, but it was actually blocking intake airflow and the unit was recirculating the same warm-ish air instead of pulling fresh room air.
7. Set the Fan to “Auto,” Not “On”
This is counterintuitive. You’d think running the fan continuously would spread more cool air. But here’s what happens when you leave the fan on “On” mode constantly:
- When the compressor cycles off, the fan keeps blowing — but now it’s just blowing room-temperature air around.
- This warms up the coils slightly, making the next cooling cycle start from a less efficient baseline.
- It also circulates humidity that was collected on the coils back into the room.
Switch to “Auto” and the fan only runs when the compressor is actively cooling. The room actually gets colder faster, and you’ll use less electricity. Most people I’ve told this to are skeptical until they try it for a day.
8. Use a Smart Plug or Timer to Pre-Cool the Room
This is probably the tip that’s made the biggest day-to-day difference for me. Running your AC to pre-cool a room 20–30 minutes before you actually need it is far more efficient than turning it on when the room is already at peak heat.
Here’s why: it takes exponentially more energy to drop a room from 38°C to 24°C than to maintain 24°C once you’re there. Starting early means the unit never has to work at maximum load.
You don’t need a smart AC for this. A basic smart plug (I use a TP-Link Kasa, costs around $10–15) lets you set a schedule from your phone. Set it to turn on 25 minutes before you get home or wake up.
Pair this with keeping your room’s curtains closed during the day, and you’ll be genuinely surprised how quickly it reaches your target temp.
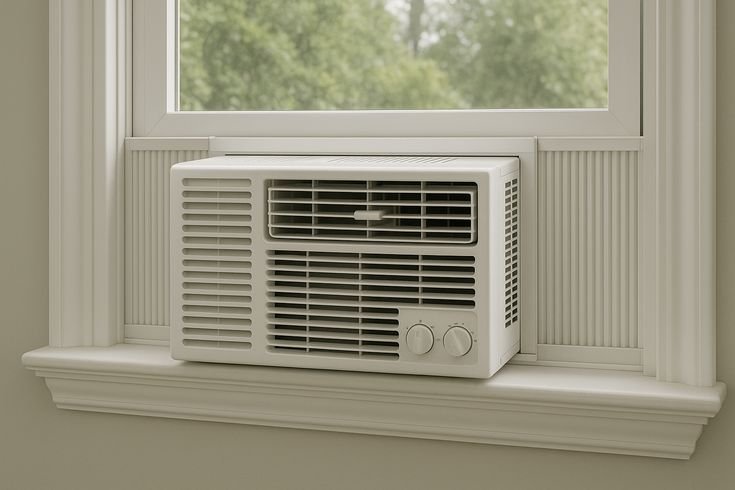
9. Install It Securely — Vibration Kills Efficiency (and Sleep)
A loose window AC unit vibrates against the window frame. That vibration:
- Creates annoying rattling noise
- Slowly wears down the window seal you worked hard to create
- Can stress internal components over time
Make sure the window sash is locked down tight on top of the unit’s mounting rail. Most units also have side brackets that screw into the window frame — use them, even if the unit feels stable without them.
For extra vibration dampening, I put a thin strip of rubber foam mat (the kind used under appliances) between the unit and the window sill. Noise dropped noticeably.
If you’re dealing with persistent rattling or noise even after installation, these troubleshooting tips for noisy units cover a bunch of specific causes and fixes.
10. Set a Realistic Temperature (Not the Lowest Setting)
I used to slam it to 16°C thinking it would cool the room faster. It doesn’t work that way.
Your AC works at roughly the same rate regardless of what temperature you set — the compressor runs until the thermostat says “we’re there.” Setting it absurdly low just means it runs longer without cycling off, uses more electricity, and often over-cools to the point of discomfort.
The sweet spot for most people is 24–26°C (75–78°F). This is the range where your body is comfortable, humidity is controlled, and the unit cycles on and off in a normal rhythm rather than running nonstop.
If you’re in a particularly hot climate, dropping to 22°C is reasonable — but going lower than that is usually just wasting energy without real comfort gain.
Common Setup Mistakes Worth Avoiding
A few things I see people do regularly that quietly undermine everything:
Installing in a window that gets afternoon western sun — The unit has to fight direct solar heat radiating off the glass and the wall. Use shades or reflective window film if this is unavoidable.
Running it with the window open “just a crack” — Yes, someone actually asked me if this was okay. No. Every millimeter of open window is pumping your expensive cool air outside.
Ignoring the drainage situation — That drip of water outside your window is normal and healthy. If it stops dripping after humid days, your drain holes are likely clogged. Check them with a thin wire.
Placing furniture blocking return airflow — The unit needs to pull air in from the front. A bed headboard, a bookshelf, even a pile of clothes against the grille restricts intake and hurts performance noticeably.
A Quick Note on Electricity Costs
Here’s a rough idea of how these setup choices affect your bill. Assuming a typical 1-ton (12,000 BTU) window unit running 8 hours/day:
| Setup Quality | Estimated Daily Run Time to Maintain 25°C | Relative Efficiency |
|---|---|---|
| Poor (gaps, dirty filter, wrong window) | 7–8 hrs continuous | Baseline |
| Average (decent seal, occasional cleaning) | 5–6 hrs | ~25% better |
| Optimized (all tips applied) | 3.5–4.5 hrs | ~40–50% better |
These aren’t precise figures — they vary hugely by climate, insulation, and unit model — but the direction is consistent. A well-set-up window AC really does work meaningfully less hard to achieve the same result.
Final Thoughts
Honestly, getting a window AC to cool fast isn’t about buying a fancier machine. Most mid-range units are mechanically similar. What separates a room that’s stuffy by noon from one that stays comfortable all day is almost entirely about installation decisions most people make in five rushed minutes.
The good news: almost everything on this list takes 15–30 minutes to fix. Re-seal the gaps, move furniture away from the grille, switch to Auto mode, add a smart plug. You’ll feel the difference within a day.
Once you’ve got the setup right, keeping it that way is mostly about regular cleaning — and for that, here’s a comprehensive window AC maintenance guide that walks through the seasonal upkeep routine I actually follow.
Stay cool.