Here is your fully formatted article with the internal and external links embedded:
Meta Description: Window AC cleaning and maintenance can slash your energy bills and extend your unit’s life. Discover 9 proven tips to boost cooling efficiency starting today.
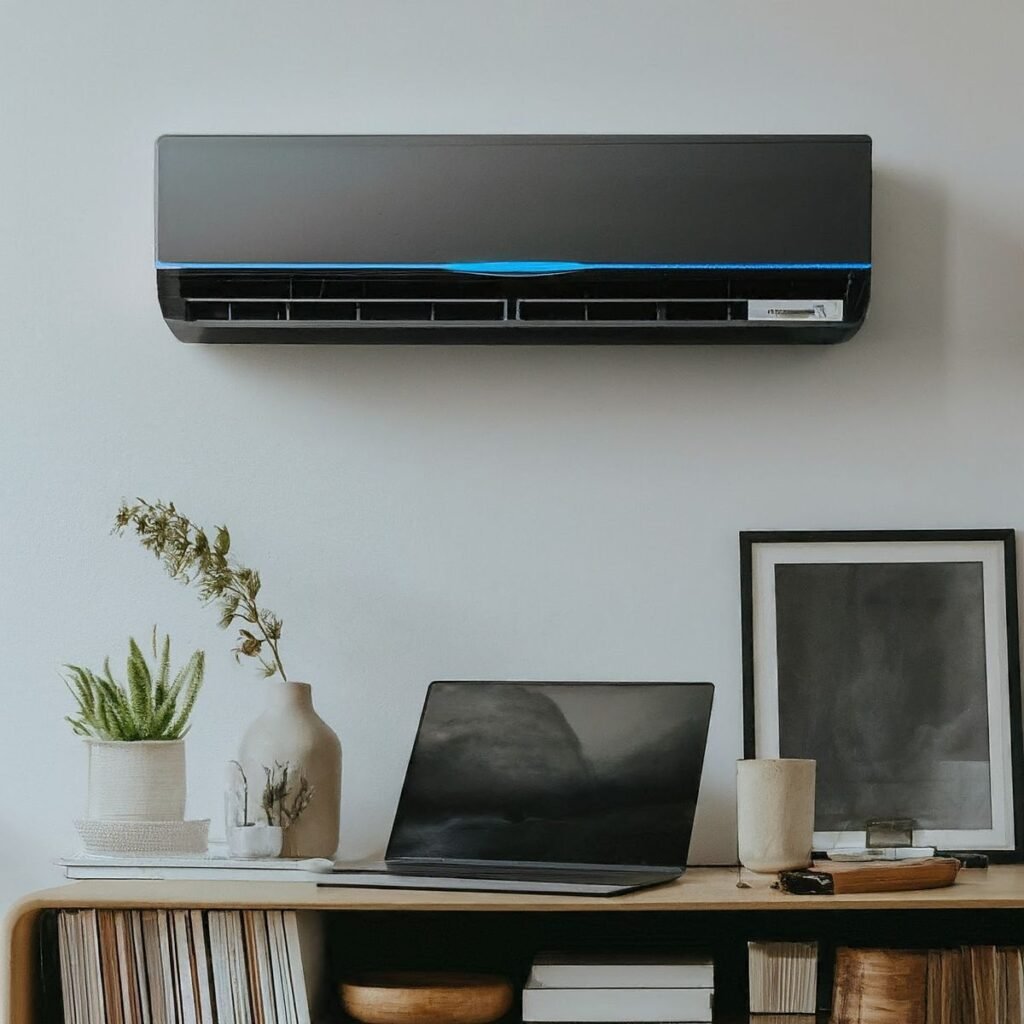
9 Tricks to Maintain and Clean Window AC for Better Cooling
If your window AC isn’t providing that familiar coolness, you can bet the unit is dirty or neglected.
Most people plug in their window air conditioner and assume that it will function flawlessly — season after season. Even a well-built unit will struggle to keep up without regular window AC cleaning and upkeep. Dust builds up. Filters clog. Coils freeze. Energy bills spike.
The good news? Most of this you can do without having to call in a technician. You can do it safely, quickly, and effectively yourself — if you take the proper steps.
This guide provides you nine proven cleaning and maintenance tips for your window AC unit to cool better, run longer, and cost less. Whether you’re a first-timer or just need to refresh your skills, clear step-by-step guidance can be found here.
Let’s get started.
The Importance of Window AC Cleaning & Maintenance
Now before diving into the tips, let’s explore why this matters so much.
A window AC that hasn’t been cleaned in a while could see its cooling efficiency drop by 5–25 percent, per energy experts. That means your unit is exerting more force, working longer, and consuming more energy — all while offering you less comfort.
This is what happens when maintenance gets neglected:
| Problem | Cause | Result |
|---|---|---|
| Reduced airflow | Clogged air filter | Room takes longer to cool |
| Ice buildup on coils | Dirty evaporator coils | AC shuts off prematurely |
| Bad smell from unit | Mold or mildew growth | Poor indoor air quality |
| Higher electricity bill | Overworked compressor | 20–30% more energy used |
| Unit stops working | Neglected drainage | Water damage or short circuit |
Preventative maintenance addresses all of these issues before they turn into costly problems.
What You’ll Need Before Starting
Before you start any cleaning or maintenance task, gather these supplies:
- Screwdriver (flathead and Phillips)
- Soft brush or vacuum with a brush attachment
- Mild dish soap or coil cleaner spray
- Warm water and a bucket
- Microfiber cloths or clean rags
- Fin comb (optional but helpful)
- Rubber gloves
- Face mask (if you suspect the presence of mold)
First, turn off and unplug your unit before doing anything. Safety first — no exceptions.
Tip #1 — Clean Or Change The Air Filter Every 2–4 Weeks
This has the single biggest impact you can have.
Your AC’s first line of defense is the air filter. It traps dust, pet dander, pollen, and other airborne particles before they enter the internal components. As the filter clogs, airflow becomes restricted — and your unit has to work extra hard just to push air through.
How to Clean the Filter
- Take off the front panel of your unit (usually just clips on, or screws).
- Slide out the filter.
- Hold it up to a light — if you can barely see through it, clean it.
- Rinse it under warm water.
- Add a tiny drop of dish soap and gently scrub with a soft brush.
- Rinse out again until the water runs clear.
- Then completely air dry it before replacing. Never reinstall a wet filter.
If the filter appears torn, warped, or simply won’t clean up, replace it. Most window AC filters are cheap (less than $10) and readily available online or at hardware supply stores.
Pro tip: Set a reminder on your phone to clean out the filter every 3 weeks during peak summer usage.

Tip #2 — Vacuum and Wipe Down the Evaporator Coils
Inside the unit and directly behind the filter are your evaporator coils. They’re tasked with soaking up heat from your room. Over time, dust and grime settle on these coils like an insulating blanket — and that is a big problem.
Heat does not transfer efficiently when the coils are dirty. It makes your AC work harder to achieve the same cooling, and in some cases freezes up completely.
How to Clean Evaporator Coils
- Once the filter is out, use a soft brush attachment on your vacuum to gently remove any surface dust.
- Spray a no-rinse coil cleaner (found at hardware stores) directly onto the coils.
- Allow it to sit for 5–10 minutes — it foams up and loosens grime.
- The foam runs down into the drain pan and self-evaporates. No rinsing needed.
Do this at least once a season — preferably at the beginning of summer, before you start to really put it to use.
Tip #3 — Use a Fin Comb to Straighten Bent Fins
Inspect your evaporator and condenser coils closely. You’ll see rows of thin metal blades known as fins. Those fins allow air to pass through the coils easily. But they’re pliable — from minor knocks, debris, or even aggressive cleaning.
Bent fins impede airflow and make your unit work twice as hard.
The Fix Is Simple
- Purchase a fin comb at any HVAC supply store or online (they’re inexpensive, typically $5–$10).
- Gently comb bent sections to straighten them.
- Work carefully — the fins are fragile.
It takes about 10 minutes and can give a noticeable boost to your unit’s performance.
Tip #4 — Clean and Clear the Condensate Drain
Your air conditioner works by removing humidity from the air as it cools. That moisture has to go somewhere — and it drips into a drain pan before flowing out through a drain hole or drain tube.
If algae, mold, or debris clog that drain, water will back up. At worst, it backs up into the room itself, wrecks walls, or shuts down your unit through a float switch.
How to Clean the Condensate Drain
- Find the drain pan (usually located at the bottom of the unit).
- Wipe up or vacuum any standing water with a cloth or small wet-vac.
- Look for clogs in the drain hole and remove them with a thin wire or pipe cleaner.
- Mix 1 tablespoon of bleach in a cup of water and pour into the drain pan slowly. This kills algae and mold.
- Clean out the pan with a damp cloth.
Repeat every 4–6 weeks in summer to avoid buildup.
💡 For more in-depth seasonal maintenance guides and product recommendations, visit Window AC Maintenance Blog — a trusted resource dedicated entirely to keeping your window unit running at its best.
Tip #5 — Clean the Outdoor Side Condenser Coils
The back of your window AC unit faces outside. Inside that back section are the condenser coils, which release heat from your room into outdoor air. They are subjected to dust, leaves, bird droppings, and other outdoor grime.
Dirty condenser coils prevent heat from dissipating — and when heat can’t dissipate, your AC fails to cool your room.
How to Clean Them
- While the unit is still in the window, use a vacuum or soft brush to clear debris away from the back grille.
- For a more thorough clean, take the unit out of the window (get some help — these things are heavy).
- Gently spray the outdoor coils with a garden hose. Do not use a pressure washer — it can damage the fins.
- Dry the unit fully before putting it back in.
Clean the condenser coils once a year — before cooling season if possible.
Tip #6 — Inspect and Seal Gaps Around the Unit
This one is always being overlooked.
If your window AC unit has gaps between it and the window frame, you’re allowing cool air to slip out and hot air to creep in. Your unit has to compensate constantly. That means wasted electricity and compromised comfort.
What to Look For
- Space on the sides (accordion panels need to completely cover the opening)
- Damage to the accordion side panels (cracks or holes)
- Gap at the top or bottom of the window sash
How to Seal Them
- Tack on foam weather stripping tape to plug little spaces along the window frame.
- Use AC foam insulating strips designed for window units (available from hardware stores).
- If the accordion panels are cracked or missing, get new ones — they’re cheap.
According to the U.S. Department of Energy, proper sealing and insulation around cooling units can meaningfully reduce energy consumption. Good sealing can improve cooling efficiency by up to 20%. It’s one of the easiest wins on this list.
Tip #7 — Check the Electrical Components and Wires
You don’t have to be an electrician for this. A simple visual inspection can be very informative.
At least once a season, inspect the power cord, plug, and visible wiring on your unit. Damaged wiring is a fire hazard — and a frayed cord can also cause the unit to underperform.
What to Check
| Component | What to Look For |
|---|---|
| Power cord | Fraying, kinks, bite marks, exposed wire |
| Plug prongs | Discoloration, burn marks, bent prongs |
| Control panel | Stuck buttons, display errors, flickering |
| Thermostat sensor | Bent or touching the coils (should be near but not touching) |
If you notice any signs of damage to wiring, do not use the unit — have it serviced or replaced.
For the thermostat sensor (a little metal bulb near the evaporator coils), ensure it is positioned slightly forward from the coils, not pressed up against them. A misaligned sensor causes erratic cooling cycles.
Tip #8 — Deep Clean the Exterior and Grilles
That may sound cosmetic, but it’s more than just aesthetics.
The front grille regulates airflow into and out of the unit. When clogged with dust and pet hair, airflow is compromised. If the cabinet is left dirty, mold spores and allergens settle on its outer surfaces as well.
Step-by-Step Guide for a Full Exterior Cleaning
- Remove the front panel/grille.
- Soak it in warm soapy water for 10–15 minutes.
- Gently scrub with a soft brush.
- Rinse and air dry before reattaching.
- Use a damp microfiber cloth to wipe down the exterior cabinet.
- For persistent mold stains, use a diluted bleach solution (1 part bleach, 10 parts water). Wear gloves.
Never spray water directly into the unit itself — only wash removable exterior panels with water.
Tip #9 — Winterize Your Unit for Off-Season Storage
If you live in a place that experiences harsh winters, proper storage is key for long-term maintenance.
There are a few reasons why keeping your window AC in the window all winter is problematic:
- Cold air drafts come through gaps around the unit
- Moisture accumulates internally in the unit
- Animals can get inside through the back vents
- UV and weather exposure break down the casing and seals
Best Practices for Off-Season Storage
- Before removing, operate the unit in “fan only” mode for 30–60 minutes. This dries out internal moisture.
- Clean the filter, coils, and drain pan before storage.
- Have a second person help carefully lift it out of the window.
- Store it upright — not on its side or back. The compressor oil may displace and harm the compressor.
- Cover it with a cloth or soft bag (not plastic — plastic traps moisture).
- Store in a dry, indoor location like a basement or closet.
If you can’t take the unit out, at least place a window AC cover over the exterior side to keep out drafts, weather, and pests.
At a Glance: Quick Maintenance Schedule
Use this table to keep on track every year:
| Task | How Often |
|---|---|
| Clean or Check Air Filter | Every 2–4 Weeks (Summer) |
| Wipe Down Front Grille/Exterior | Monthly |
| Clean Condensate Drain Pan | Every 4–6 Weeks |
| Clean Evaporator Coils | Once Per Season |
| Inspect Wiring and Plug | Once Per Season |
| Clean Condenser Coils (Outdoor) | Once Per Year |
| Straighten Bent Fins | Once Per Year |
| Check and Seal Window Gaps | Once Per Year |
| Deep Clean Before Storage | End of Cooling Season |
Print this and keep it near your AC. A bit of consistency can take you really far.
Sure Signs Your Window AC Needs Attention ASAP
Things can go wrong even with regular maintenance. Here are warning signs to look out for:
1. Warm air blowing out of the unit Possible refrigerant leak or compressor problem. Neither is a DIY fix — call a technician.
2. Ice buildup on coils or front panel Most commonly caused by dirty coils, obstructed airflow, or low refrigerant. Unplug the unit and allow it to thaw. Clean the coils and filter, then restart.
3. Strange sounds (banging, rattling, grinding) Bangs typically indicate something is loose. Grinding sounds are generally a sign of a failing fan motor. Don’t ignore these sounds.
4. Water leaking inside your room Blocked drain or a unit tilted the wrong way. The unit should tilt slightly back (toward outside) for proper drainage.
5. Strong musty or burning smell Musty = mold in the unit. Burning = electrical issue. Burning smells especially demand an immediate shutdown.
Common Questions About Cleaning and Maintaining Window ACs
How often do I need to do a thorough cleaning of a window AC? A deep cleaning each season (before summer begins) is best. Clean the filter every 2–4 weeks during heavy use.
Should I use a pressure washer to clean the window AC? No. High-pressure water will bend the delicate fins and damage internal components. Only use a regular garden hose on a low setting for the condenser coils.
Is it safe to clean AC coils myself? Yes, with the right products. Use a no-rinse coil cleaner from a hardware store — it’s made for this. Never use harsh chemicals.
What if I don’t clean my window AC? Efficiency decreases, energy bills increase, air quality deteriorates, and the lifespan of the unit is reduced. Neglected units can develop mold, freeze up, or just quit working altogether.
How long should a window AC last if well maintained? With regular window AC cleaning and maintenance, most units last around 10–15 years. Without it, you could be replacing one in 5–7 years.
Why does my window AC smell bad when I turn it on? Most probably mold or mildew in the unit or on the filter. Clean the filter, drain pan, and coils, then run it on fan-only mode for an hour to dry it out.
Do I need to cover my window AC in the winter? Yes — either take it out and store it properly, or put on an exterior AC cover to protect it from the cold, moisture, and pests.
Does cleaning my AC really lower my electric bill? Absolutely. A clean air conditioner can use up to 15 percent less electricity than a dirty one at the same setting. That adds up quickly throughout a summer.
Wrapping It Up — Little Habits, Big Results
Cleaning and maintaining a window AC isn’t rocket science. Most tasks do not require costly tools or professional help. What it takes is a bit of consistency.
By following these 9 proven tips — from regularly cleaning the filter and sealing gaps to prepping for off-season storage — you’ll enjoy cooler air, lower energy bills, and a unit that lasts years past its expected lifespan.
Get back to basics: clean that filter this week. Work your way through the rest of the list before summer’s heat arrives. Both your wallet and comfort level will thank you.
A little early effort saves a ton of money — and a ton of sweating — later.