Meta Description: Window AC cleaning & maintenance doesn’t have to be hard. Follow these 8 easy steps to boost performance, cut energy bills, and extend your unit’s life.
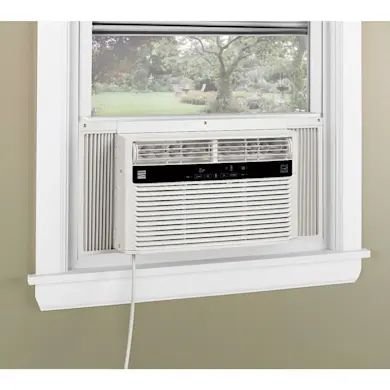
8 Easy Steps for Cleaning & Maintenance of Window AC for Smooth Performance
If your window AC is blowing warm air, making odd noises, or just isn’t cooling like it used to — dirty parts are often the culprit. The good news? You don’t have to call a technician for most of it.
It just takes a little regular care. Cleaning your unit allows it to run more efficiently, reducing your electricity bill and extending its lifespan.
This guide walks you through 8 simple, easy-to-follow window AC cleaning and maintenance steps that anyone can do at home — no special skills required.
Why Window AC Maintenance Is More Important Than You Might Think
Most people don’t think about their AC until something goes wrong. However, just like a car, your air conditioner has to be serviced regularly to work effectively.
This is what happens when you skip maintenance:
- Higher energy bills — A dirty filter makes the motor work harder
- Poor heat transfer — Dirty coils hinder heat exchange
- Bad air quality — Mold and dust get blown into your room
- Shorter lifespan — Parts wear out and are costly to fix
According to the U.S. Department of Energy, a dirty air filter alone can cut AC efficiency by 5% to 15%.
That’s money — and comfort — literally going out the window.
Before You Begin — What Will You Need?
Collect these basic materials before starting. Most of them are already in your home.
| Supply | Purpose |
|---|---|
| Screwdriver | Remove panels and grilles |
| Soft brush or old toothbrush | Clean coil fins and tight spots |
| Vacuum with brush attachment | Remove dust from filters and coils |
| Mild dish soap + warm water | Wash filters and panels |
| Fin comb (optional) | Straighten bent coil fins |
| Spray bottle | Apply cleaning solution |
| Dry cloth or towels | Wipe down all components |
| Coil cleaner spray (optional) | Deep-clean the evaporator coils |
Safety First: Make sure to unplug the AC unit before cleaning or maintaining it. Do not work on a unit that is still connected to power.
Step 1 — Clean the Air Filter or Replace It
The most critical part to maintain is the air filter. It captures dust, pet hair, pollen, and other particles before they can enter your room or clog up the unit.
How to Clean It
- Turn off and unplug the AC
- Remove the front panel (it typically snaps off or has tiny screws)
- Slide out the filter
- Hold it up to light — if you can’t see through it, it’s time for a wash
- Rinse under warm water or carefully vacuum it
- For a deeper clean, soak it in warm water with a few drops of dish soap for 10–15 minutes
- Rinse well and allow to fully air dry before placing it back
When to Replace vs. Clean
| Filter Type | Clean or Replace? | Frequency |
|---|---|---|
| Reusable mesh filter | Clean | Every 2–4 weeks |
| Disposable fiberglass filter | Replace | Every 30 days |
| HEPA or high-efficiency filter | Replace | Every 3–6 months |
Pro Tip: Never run the AC with a wet filter. It can lead to mold growth inside the unit.
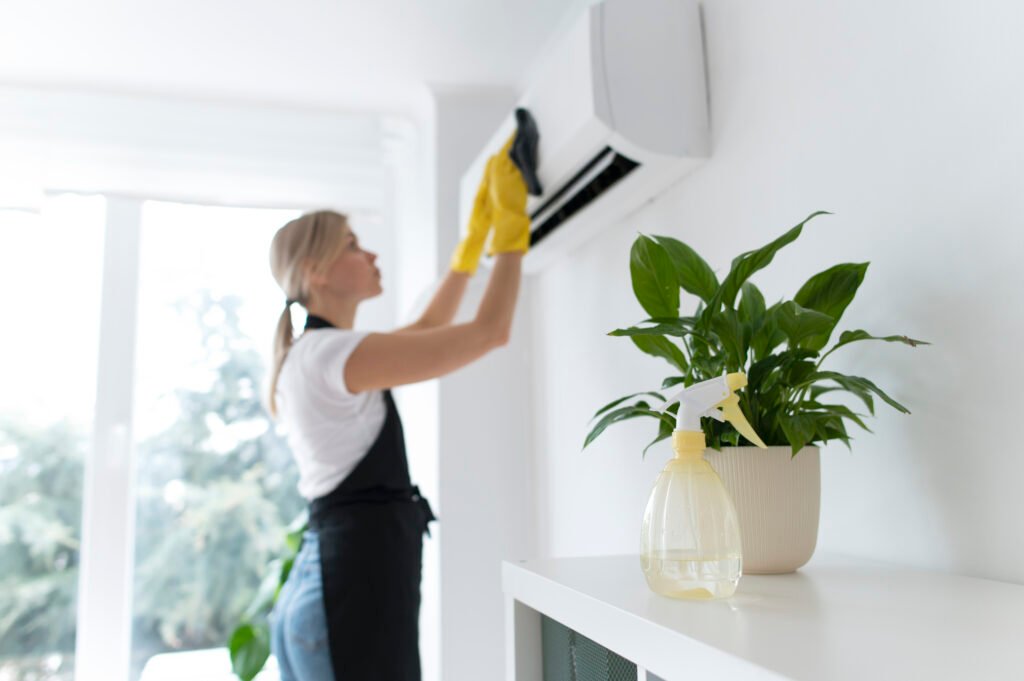
Step 2 — Wipe Down the Front Grille and Panels
The outer shell accumulates dust, fingerprints, and grime over time. This isn’t just about appearances — it can obstruct airflow and push particles inward.
Here’s How to Do It
- Pop off the front grille (most come off easily)
- Wash it in warm soapy water
- Clean between the slats with an old toothbrush
- Rinse and dry thoroughly before reattaching
- Wipe the exterior body with a damp cloth
- For stubborn stains, a small paste of baking soda works well
Avoid using harsh chemicals or bleach on plastic parts. Over time, they can cause the material to crack or discolor.
Don’t forget the air vents on the side and top of the unit. These also gather dust and can restrict airflow when clogged.
Step 3 — Clean the Evaporator Coils (Indoor Side)
The evaporator coils are located just behind the air filter. They absorb heat from your room to cool the air. If they become coated in dust and grime, they can’t do their job effectively.
Signs Your Coils Need Cleaning
- The AC runs but the room stays warm
- Ice forms on the unit
- You notice a musty smell when the AC is on
Cleaning the Evaporator Coils
- With the filter removed, you can see the coil fins (silver, accordion-type metal strips)
- Use a soft brush to gently loosen dust — always brush with the fins, never against them
- Vacuum away the loosened debris with a brush attachment
- For a deeper clean, spray an even coat of no-rinse coil cleaner over the surface
- Let it sit for a few minutes — it will drip down into the lower drain pan
Be gentle. The fins are thin and can bend easily. Bent fins block airflow and reduce efficiency.
If you notice a lot of bent fins, a fin comb (sold at hardware stores for just a few dollars) can return them to position.
Step 4 — Clean the Condenser Coils (Outdoor Side)
The condenser coils face the outside through your window. They expel the heat extracted from your room to the outside air. Those coils are constantly exposed to dirt, leaves, insects, and debris.
How to Access Them
You’ll need to partially pull the unit out of the window, or access the back panel if your model allows it.
- Carefully remove the outer casing
- Use a soft brush to clean any visible debris off the fins
- Vacuum the coils gently
- Spray with coil cleaner or a solution of mild soap and water
- If using a liquid, rinse lightly — do not spray electrical components
- Let everything dry completely before putting it back together
Condenser vs. Evaporator Coils — Quick Comparison
| Feature | Evaporator Coils | Condenser Coils |
|---|---|---|
| Location | Indoor/front side | Outdoor/back side |
| Function | Absorbs heat from the room | Releases heat outside |
| Cleaning Frequency | Every 1–2 months | Once per season |
| Risk of Ice Buildup | Yes | No |
Step 5 — Clear Out the Drain Pan and Drain Line
As your AC cools the air, it also pulls moisture from the room. That moisture gathers in the drain pan and flows out through the drain line. If either gets clogged, water can overflow — causing leaks, water damage, or mold.
How to Clean the Drain Pan
- Locate the drain pan at the base of the unit (inside the casing)
- Wipe up any standing water with a cloth or small sponge
- Clean the pan using warm soapy water
- Mix equal parts water and white vinegar, and use it to wipe down the pan — this kills mold and mildew
- Rinse and dry
Unclogging the Drain Line
If water is pooling or not draining, it’s probably clogged with algae or debris.
- Use a thin wire or pipe cleaner to gently push through the drain hole
- Pour a small amount of diluted vinegar into the pan to break up any buildup
- Let it sit for 15–20 minutes, then flush with water
Check the drain frequently during peak summer use. A clogged drain is one of the main reasons behind window AC water leaking issues.
Step 6 — Inspect and Straighten the Fins
Both the evaporator and condenser coils feature thin aluminum fins that run in rows. These fins are essential — they maximize surface area for heat transfer.
When they get bent, airflow is restricted. That means your unit has to work harder to cool the same space.
Why Fins Get Bent
- Rough cleaning with hard brushes
- Debris hitting the outdoor coils
- Accidental pressure from touching them
How to Fix Bent Fins
A fin comb is the right tool for this job. It resembles a comb with different spacing for varying fin densities.
- Determine your fin pitch (typically 8–18 fins per inch — check your AC manual)
- Select the matching comb teeth
- Slide the comb gently over the bent area from top to bottom
- Apply firm but gentle pressure — do not force it
It’s a simple adjustment that can dramatically improve your unit’s performance.
Step 7 — Check the Seals and Weatherstripping
This is a step that tends to be entirely overlooked — but it makes all the difference.
The foam or rubber seal surrounding your window AC unit prevents cold air from escaping. This seal can crack, shrink, or fall apart over time. When that happens:
- Cool air escapes
- Hot outdoor air gets in
- Insects and humidity enter your home
- Your AC works overtime to maintain the temperature
How to Check the Seals
- On a hot day, run the AC and hold your hand around the edges of the unit
- If you feel warm air coming in — the seal needs attention
- You can also hold a lit incense stick near the edges; if the smoke moves, air is escaping
How to Fix It
- Replace worn foam weatherstripping (available in rolls at any hardware store)
- Press it firmly around all four edges of the unit
- For gaps in the window frame, use foam backer rod or window insulation tape
This small fix makes a big difference in how cold your room gets — and how quickly.
For more expert tips and seasonal guides, visit Window AC Maintenance — a dedicated resource for keeping your unit running at its best all year long.
Step 8 — End-of-Season Deep Clean and Storage
As summer draws to a close and you’re ready to store your AC for the colder months, don’t just yank it out and toss it in the garage.
A good end-of-season routine protects your investment and ensures you won’t be starting next summer with a moldy, musty unit.
End-of-Season Checklist
| Task | Why It Matters |
|---|---|
| Clean all filters | Prevents mold from sitting through the winter |
| Dry all components completely | Avoids corrosion and mildew growth |
| Clean drain pan thoroughly | Removes standing water and bacteria |
| Wipe down all surfaces | Keeps pests from nesting inside the unit |
| Cover the unit or use a storage bag | Protects against dust and debris |
| Store in a dry, upright position | Prevents refrigerant or oil from shifting |
If You’re Leaving It Installed in the Winter
Some people keep their window AC in place all year long. If that’s you:
- Cover the outdoor side with an AC cover or heavy plastic
- Seal any gaps around the unit with weatherstripping
- Consider an interior cover too, to stop cold drafts
How Often Should You Clean Each Part?
Here’s a simple maintenance schedule to stick on your fridge or set as a phone reminder:
| Component | How Often to Clean |
|---|---|
| Air filter | Every 2–4 weeks (more frequently in homes with pets) |
| Front grille and panels | Once a month |
| Evaporator coils | Once every 1–2 months |
| Condenser coils | Once per season |
| Drain pan | Once per month during summer |
| Drain line | Once per season or when clogged |
| Fins | Check monthly; straighten when needed |
| Window seals | Check at start and end of cooling season |
Quick Troubleshooting Guide
| Problem | Likely Cause | Quick Fix |
|---|---|---|
| AC not cooling well | Dirty filter or clogged coils | Clean filter and coils |
| Water dripping inside | Clogged drain pan or line | Clear drain, check tilt angle |
| Ice forming on unit | Restricted airflow or low refrigerant | Clean filter; call tech if persistent |
| Musty smell from AC | Mold in drain pan or coils | Clean with vinegar solution |
| AC making loud noise | Loose parts or debris inside | Remove casing and check for blockages |
| Higher energy bills | Overall poor maintenance | Full clean across all components |
FAQs — All About Window AC Cleaning & Maintenance
Q: How often do I need to clean my window AC unit in general? A: For most homes in regular use, monthly light cleaning followed by a deep clean at the beginning and end of each season works best.
Q: Is it OK to use a hose to rinse the coils? A: You can gently rinse the condenser (outdoor) coils with low water pressure, but do not aim the spray directly at any electrical components. Never wash the indoor side with a hose.
Q: Can I run the AC without a filter? A: No — dust and dirt will go directly into your coils, fan motor, and your room. It can quickly damage the unit and affect air quality.
Q: What is the best homemade coil cleaner? A: For light cleaning, a solution of warm water and a few drops of dish soap in a spray bottle works fine. For tougher buildup, a no-rinse coil cleaner is usually worth the small investment.
Q: My AC smells like mold. What should I do? A: Use a vinegar solution to clean the drain pan, clean the evaporator coils, and replace the filter. If the odor lingers, mold may have gone deep inside the unit and you should consider having it professionally cleaned.
Q: How can I tell if my AC needs refrigerant? A: You can’t fill it yourself — that requires a certified HVAC technician. Signs you might be low on refrigerant include ice building up on the coils, the AC running endlessly without cooling, and hissing noises coming from the unit.
Q: Does cleaning my AC actually save me on my electricity bill? A: Yes. A clean, well-maintained AC can perform 5–15% more efficiently than a dirty one. Over an entire summer, that amounts to substantial savings.
Q: Should I cover my window AC in winter? A: Yes — if leaving it in the window, cover the outdoor side to protect it from ice, snow, and debris. If storing indoors, clean it first and ensure it is kept somewhere dry.
Wrapping It All Up
Cleaning and maintaining your window AC is not complicated — nor does it take a lot of time. But skipping it? That’s where the problems start.
By following these 8 steps regularly, you get:
- Cleaner, fresher air in your home
- Lower energy bills every month
- Better cooling performance on warm days
- Fewer breakdowns and costly repairs
- A longer lifespan for your air conditioning unit
Start with the filter — it’s the simplest and most impactful step. Then work through the rest of the list at your own pace.
Your window AC works hard all summer. With a little care, it can keep running smoothly for years to come.