Introduction
Let me tell you something right from the start: I never thought I’d become some kind of expert on window air conditioners, but life has a funny way of throwing you curveballs, especially when you’re trying to beat the heat on a budget. Living in a small apartment in the city, where summers feel like you’re trapped in a sauna, my window AC unit became my best friend. Or at least, it was supposed to be. But over the years, I’ve made every mistake in the book—mistakes that cost me time, money, and more than a few sleepless nights sweating it out. I’m talking about the kind of hard-learned lessons that come from ignoring warning signs, skimping on maintenance, and thinking I could just “wing it” because, hey, how complicated can a box in the window be?
It all started a few years back when I bought my first window AC. I was fresh out of college, scraping by on a entry-level job, and the unit was a second-hand deal from a garage sale. Looked fine on the outside, cooled the room okay at first. But fast-forward a couple of sweltering summers, and I was dealing with everything from weird rattling noises to musty smells that made my place feel like a damp basement. I tried fixing things myself, watched a bunch of online videos, and ended up making things worse more often than not. One time, I even had water dripping inside my apartment, ruining a stack of books I’d been meaning to read. That’s when I realized I needed to get serious about cleaning and maintaining this thing properly.
Why am I sharing all this? Because if you’re like me—someone who relies on a window AC to survive the heat without breaking the bank—you don’t want to learn these lessons the hard way. I’ve compiled seven honest truths I’ve picked up through trial and error, complete with the stories of my blunders and the practical advice I wish I’d had from day one. This isn’t some polished guide from a pro; it’s real talk from a guy who’s been there, gotten the electric shock (literally), and come out the other side with a unit that now runs like a champ. By the end of this, you’ll know how to keep your window AC humming efficiently, saving you energy bills and headaches. Let’s dive in.
Lesson 1: Always Turn Off the Power Before You Start Tinkering
Picture this: It’s a scorching July afternoon, and my AC is blowing warm air like it’s mocking me. Frustrated, I decide to give it a quick clean without unplugging it—because who has time for that, right? I pop off the front panel, start wiping down the filter, and next thing I know, my hand brushes against something live. Zap! A jolt shoots up my arm, not enough to send me to the hospital, but enough to make me yelp and drop everything. My heart was racing, and I spent the rest of the day with a numb finger, vowing never to be that careless again.
What I learned the hard way is that safety isn’t optional when dealing with electrical appliances, especially ones with fans and compressors that can kick on unexpectedly. Window ACs pull a lot of power, and even if it’s “off,” residual electricity or a faulty switch can turn a simple clean into a dangerous situation. I was lucky; others aren’t. According to what I’ve read since then, thousands of people end up in ERs every year from appliance-related shocks, and AC units are prime culprits.
So, how do you do this right? First things first: Unplug the unit from the wall outlet. If it’s hard-wired or you can’t reach the plug easily, head to your circuit breaker and flip the switch for that room. Double-check by trying to turn the AC on—nothing should happen. Wear rubber-soled shoes and gloves if you’re paranoid like I am now. Once it’s safe, you can proceed with cleaning.
But let’s expand on why this is crucial. Window ACs have capacitors that store electricity even after unplugging, so give it a few minutes to discharge. I once ignored this and heard a pop when I touched the insides—turned out to be a minor spark, but it could’ve been worse. For maintenance, this step prevents accidental starts that could injure you or damage the unit. If you’re removing the AC from the window for a deep clean, make sure it’s powered down to avoid straining the cord or causing shorts.
In my experience, this lesson extends beyond cleaning. Anytime you’re inspecting for issues like strange noises or leaks, power off first. It might add a minute or two, but it saves you from potential disaster. Trust me, that zap was a wake-up call I won’t forget.
To make this habit stick, I now keep a checklist by my AC: Power off? Check. Tools ready? Check. It’s simple, but it works. And if your unit is in a high window, use a stable ladder—falling while shocked isn’t a combo you want. Over time, this routine has made me more confident in handling my AC without fear.
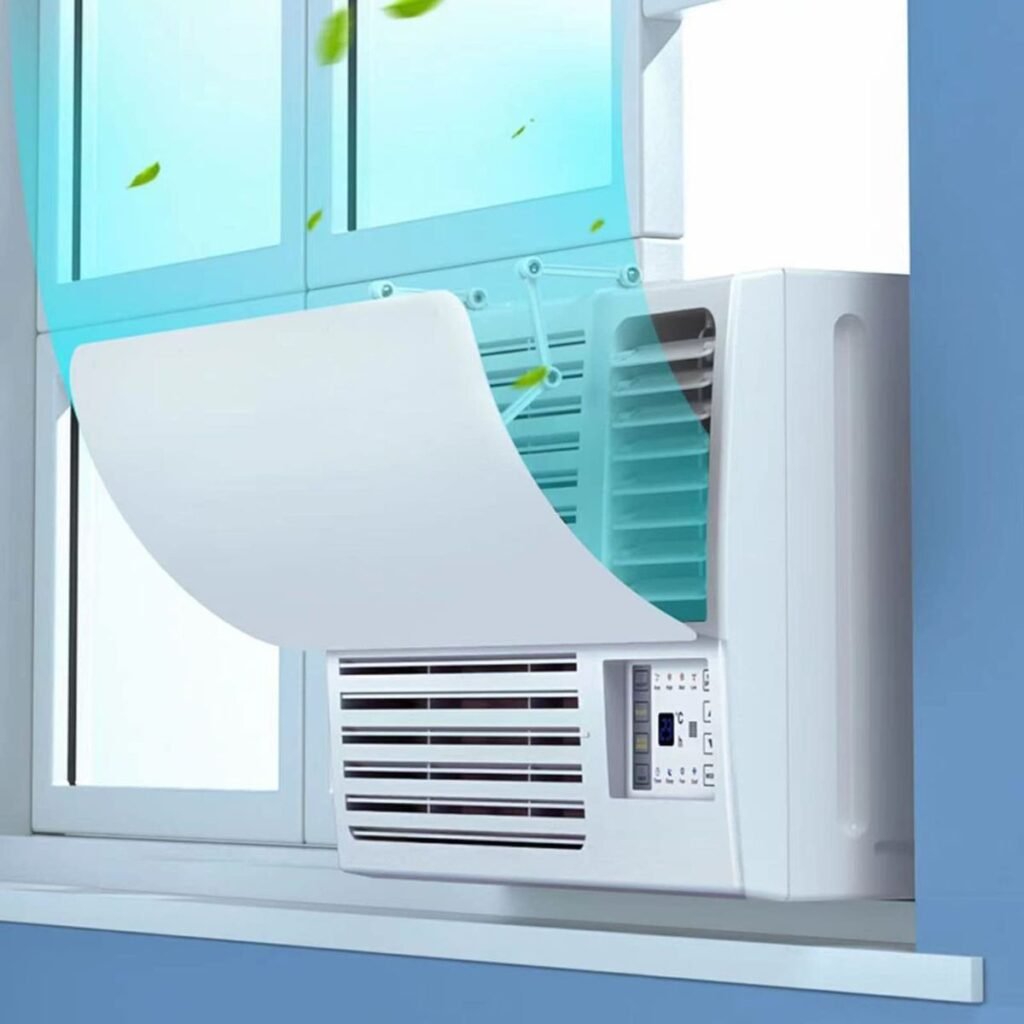
Lesson 2: Clean or Replace Your Filter Every Month, No Excuses
Ah, the filter—the unsung hero of any AC unit, and the thing I neglected for way too long. My second big mistake came during my first full summer with the unit. I noticed the air wasn’t as cool, but I chalked it up to the extreme heat. Bills were skyrocketing, and the room felt stuffy. One day, I finally pulled out the filter, and it was caked in dust, hair, and who knows what else. It looked like a lint trap from a dryer that hadn’t been cleaned in years. Cleaning it helped a bit, but by then, the damage was done—the unit had been working overtime, straining the compressor and reducing its lifespan.
I learned that a dirty filter restricts airflow, making the AC inefficient and forcing it to use more energy. In my case, it probably added 20% to my electric bill that month. Worse, it can lead to ice buildup on the coils or even complete failure. Filters trap dust, pollen, pet dander—all that stuff that would otherwise circulate in your air or clog the internals.
Here’s how to handle it properly: Most window ACs have a removable filter behind the front grille. Slide it out monthly during use. If it’s reusable (check your manual), vacuum off loose debris, then wash with warm soapy water. Rinse thoroughly and let it air dry completely—don’t rush this, or you’ll introduce moisture that breeds mold. If it’s disposable, replace it every 1-3 months, depending on usage and environment. I live with a cat now, so I do it more often.
For a deeper clean, I sometimes soak the filter in a vinegar-water mix to kill any bacteria. But the key is consistency. Set a reminder on your phone; I tie it to paying rent, so I never forget. If you notice reduced cooling or higher noise, check the filter first—it’s often the culprit.
This lesson hit home when my AC started making a wheezing sound. Turns out, the clogged filter had caused uneven pressure, stressing the fan. A quick clean fixed it, but if I’d waited, it could’ve been a costly repair. Now, I treat filter maintenance like brushing my teeth—routine and non-negotiable.
Lesson 3: Don’t Skip Cleaning the Coils; They’re the Heart of the Operation
Coils? Yeah, I didn’t even know what those were until my AC conked out mid-heatwave. I’d been dutifully cleaning the filter by then, but ignored the evaporator and condenser coils. One weekend, the unit just stopped cooling altogether. I took it apart (safely, this time) and found the coils covered in a thick layer of grime. It was like looking at a dusty radiator in an old car. That buildup had insulated the coils, preventing heat exchange, and the unit overheated.
The hard lesson: Coils are where the magic happens—evaporator coils inside cool the air, condenser coils outside release heat. Dirt acts like a blanket, reducing efficiency by up to 30%, per some stats I’ve seen. In my case, it led to a compressor strain that could’ve been fatal for the unit.
To clean them right: After powering off and removing the front panel, use a soft brush or vacuum with a brush attachment to gently remove dust from the evaporator coils (the cold ones inside). For the condenser (back fins), do the same from outside. If they’re really dirty, spray with a coil cleaner from a hardware store—let it sit, then rinse with low-pressure water. Be careful not to bend the fins; if you do, straighten with a fin comb.
I do this twice a season now: once in spring before install, once mid-summer. It’s tedious, but worth it. Last year, after a thorough coil clean, my room cooled faster, and the unit ran quieter. If you live in a dusty area or near construction, check more often.
One tip: Avoid high-pressure washers; they can damage fins. And if mold’s present, use a vinegar solution. This maintenance has extended my AC’s life by years, I swear.
Lesson 4: Be Gentle with All Parts to Avoid Unnecessary Damage
In my eagerness to clean deep, I once went at the fins with a screwdriver to pry off stuck dirt. Big mistake—the thin metal bent like paper, creating gaps that messed with airflow. The unit worked, but not as well, and I had to buy a fin comb to fix it, which was an extra hassle and cost.
Learned hard: Window AC parts are delicate. Fins, fans, even plastic covers can break if mishandled. Bent fins reduce efficiency; broken fans mean replacement.
Proper way: Use soft tools—brushes, cloths, compressed air cans for crevices. When disassembling, follow the manual; label screws if needed. For fins, comb gently from top to bottom.
This extends to installation: Don’t force the unit into the window; use supports to keep it level. I dropped mine once during removal, cracking the case—not fun.
Gentleness pays off. My AC now looks and runs like new because I treat it with care.
Lesson 5: Dry Everything Thoroughly Before Reassembly
After my first full clean, I rinsed parts and put it back together damp. A week later, a musty smell hit me—mold had grown inside. The room air turned gross, and I had to disassemble again, this time dealing with slimy buildup.
Lesson: Moisture is the enemy. It breeds mold, corrodes parts, and can short electronics.
How to: After washing, air dry for hours—use a fan if needed. Wipe internals with a dry cloth. Only reassemble when bone-dry.
For mold prevention, I now spray hydrogen peroxide or vinegar post-clean. In humid climates, this is crucial.
That smell was embarrassing when friends visited; now, my AC air is fresh.
Lesson 6: Regularly Check and Clean the Drip Pan to Prevent Leaks
Ignored a slow drip once, thinking it was condensation. Turned into a puddle on my floor, warping the wood. The drip pan was clogged with algae and debris, causing overflow.
Hard truth: The pan collects water; if blocked, it leaks inside.
Clean it: Remove if possible, wash with soapy water, scrub algae. Use bleach mix for kills.
Do this seasonally. Keep the unit tilted slightly outward for drainage.
Saved my floors and prevented bigger issues like electrical damage.
Lesson 7: Know Your Limits and Call in Pros When Needed
Tried fixing a rattling noise myself—tightened some screws, but it worsened. Compressor issue; ended up paying more for repair than if I’d called early.
Lesson: DIY is great for basics, but for noises, leaks, or no cooling, pros have tools and knowledge.
Schedule annual tune-ups. I do now, and it’s caught problems early.
This has saved me money long-term. Don’t be stubborn like I was.
Conclusion
Wrapping this up, these seven lessons transformed how I handle my window AC—from a troublesome box to a reliable cooler. I’ve saved on bills, avoided breakdowns, and enjoyed cooler summers. You can too. Start small, stay consistent, and your unit will thank you. Stay cool out there.