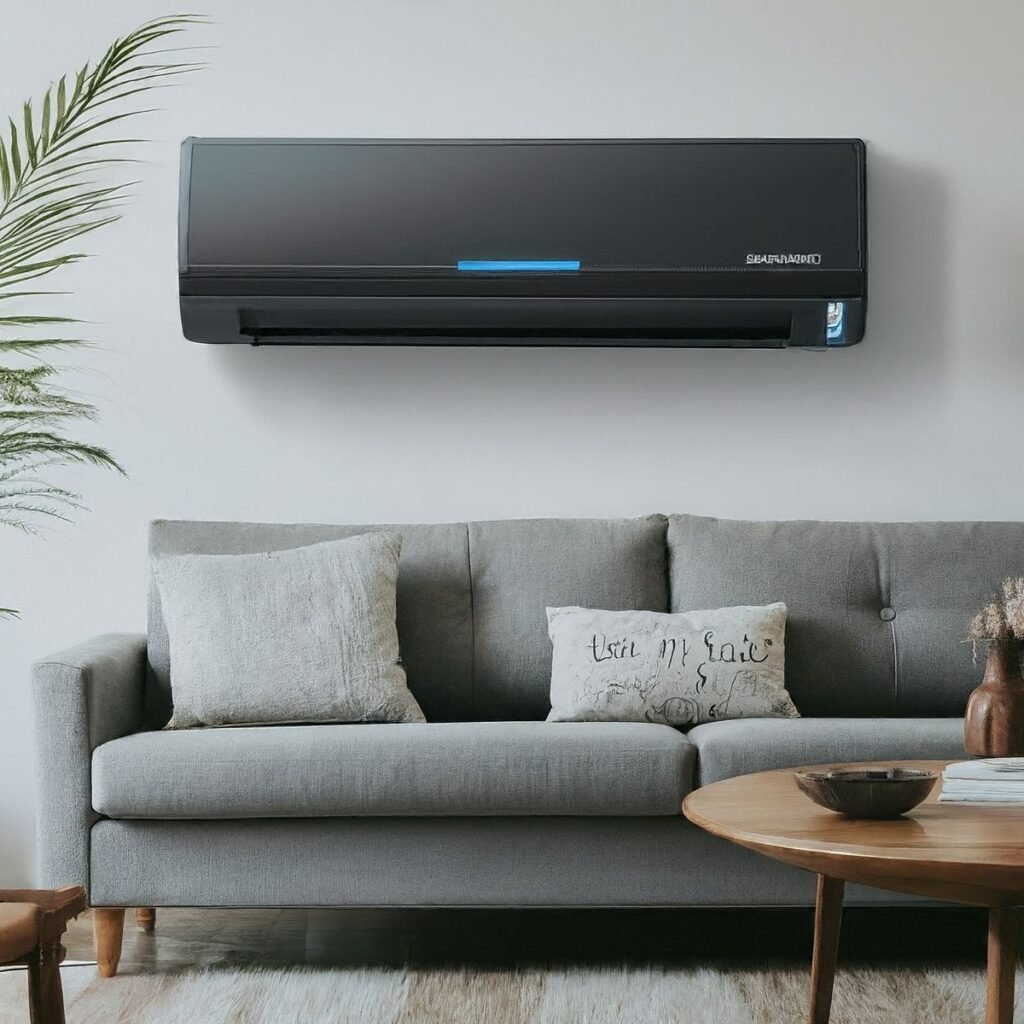
Let me tell you about the day my window AC decided to call it quits. It was one of those sweltering summer afternoons where the heat felt like it was personally out to get me. I’d just gotten home from work, sweat dripping down my back, and I flipped on the AC expecting that sweet rush of cool air. Instead, I got a weird rattling noise, followed by a puff of dust, and then… nothing. Dead silence. The thing wouldn’t even turn on properly after that. I stood there, staring at it like it had betrayed me, which it kind of had. This wasn’t some fancy central air system; it was a basic window unit I’d picked up on sale a couple of years back. I thought I was taking care of it, but clearly, I wasn’t. That breakdown cost me a weekend of frustration, a repair bill I wasn’t thrilled about, and a lot of lessons learned the hard way.
Over the next few days, as I tinkered with it, called a technician, and reflected on what went wrong, I pieced together what I now call my seven honest lessons on window AC cleaning and maintenance. These aren’t from some glossy manual or expert blog; they’re straight from my own mishaps. If you’re like me—someone who installs one of these units thinking it’ll just work forever without much fuss—pay attention. I’ll walk you through each one, sharing the details of what happened, why it matters, and how you can avoid the same pitfalls. Trust me, a little upfront effort beats sweating it out in a hot room any day.
The first lesson hit me right away when I pulled the unit out of the window to inspect it. I realized I hadn’t been cleaning the filters nearly as often as I should have. Filters are like the lungs of your AC; they trap dust, pollen, pet hair, and all sorts of gunk that floats around in the air. Mine were caked with a layer of grime so thick it looked like a fuzzy blanket. No wonder the airflow was restricted—the poor thing was suffocating. I remember thinking back to when I first installed it; the manual said to clean or replace the filters every month during heavy use, but life gets busy, right? I maybe did it every three months, if that. Big mistake.
To clean them properly, it’s not rocket science. Unplug the unit first—safety always comes before anything else. Then, slide out the filter panel, which is usually right on the front or side. If it’s a reusable filter, like the mesh kind, rinse it under lukewarm water with a bit of mild soap. Let it dry completely before putting it back; you don’t want moisture causing mold issues. If it’s disposable, just swap it out for a new one. They’re cheap, like five bucks at any hardware store. From my breakdown, I learned that skipping this step doesn’t just reduce efficiency; it makes the compressor work harder, leading to overheating and potential burnout. My tech said that’s probably what started the chain reaction in my unit. Now, I set a reminder on my phone every two weeks in summer. It’s a small habit, but it keeps the air flowing clean and cool.
Expanding on that, think about where your AC is placed. If it’s in a dusty room or near a kitchen where cooking fumes build up, those filters clog faster. In my case, the unit was in the living room, and with two cats shedding like crazy, it was a recipe for disaster. I started vacuuming the area around the AC more often, too, to reduce the intake of debris. And here’s a pro tip I wish I’d known: some units have multiple filters, like a pre-filter and a main one. Check your model; mine had a hidden one behind the grille that I completely overlooked. Cleaning both made a noticeable difference in performance. If you’re in a pollen-heavy area, consider upgrading to a HEPA-style filter for better air quality, though it might slightly reduce airflow, so balance that out.

Moving on to the second lesson, which was a real eye-opener: don’t ignore the coils. The evaporator and condenser coils are where the magic happens—they absorb heat from inside and release it outside. But over time, they get dirty, just like everything else. In my breakdown, the tech pointed out that my coils were coated in dust and even some mold spots from humidity. That buildup acts like insulation, making the unit less efficient and forcing it to run longer to cool the room. Energy bills creep up, and eventually, components fail.
Cleaning coils isn’t as straightforward as filters, but it’s doable at home if you’re careful. Again, unplug and remove the unit if possible. For the evaporator coils (inside part), use a soft brush or a fin comb to gently remove debris. Avoid bending the fins; they’re delicate. For tougher grime, a no-rinse coil cleaner spray works wonders—just apply, let it foam, and it drips away. The condenser coils (outside) might need a garden hose on low pressure to rinse off dirt. I did this after the repair, and the AC ran smoother immediately. But word of caution: if there’s ice buildup on the coils, that’s a sign of low refrigerant or airflow issues, and you might need a pro. My mistake was assuming the unit was self-cleaning in some way; nope, it needs your help. Aim to do this twice a year, once before summer and once after.
I should mention that in humid climates, like where I live, mold on coils is common. I started using a dehumidifier in the room to keep moisture down, which helps prevent that. Also, if your unit is older, the coils might corrode, so inspect for rust. Mine had a bit, but it was salvageable. If yours are bad, it might be cheaper to replace the whole unit than fix it. Lesson learned: prevention is key. A clean coil means better heat transfer, lower energy use, and a longer lifespan.
The third lesson came from examining the installation itself. My AC broke down partly because it wasn’t sealed properly around the window. There were gaps where hot air leaked in and cool air escaped, making the unit work overtime. Plus, rainwater had seeped in during a storm, causing electrical shorts. I installed it myself, thinking a few foam strips would do, but they deteriorated over time.
To fix this, use weatherstripping or accordion panels that come with the unit to seal the sides tightly. For the bottom, a support bracket is essential to prevent sagging, which can create gaps. I redid mine with silicone caulk around the edges for a waterproof seal. Check for levelness too; if it’s tilted wrong, water doesn’t drain properly, leading to leaks inside. My breakdown involved a puddle under the unit that I ignored at first, thinking it was condensation. Turns out, it was a clogged drain pan from debris. Clean that pan regularly with a vinegar-water mix to kill bacteria and clear clogs. Use a wet vac if needed.
In retrospect, I should have hired someone for the initial install if I wasn’t confident. But if you’re DIY-ing, measure your window precisely—width, height, and sill depth. Some windows need extensions or custom seals. And don’t forget to secure it; a falling AC is a nightmare. Now, I inspect the seal every season, tightening screws and replacing worn foam. It keeps efficiency high and prevents water damage.
Fourth lesson: electrical issues are sneaky culprits. My unit tripped the breaker multiple times before fully failing, but I reset it without investigating. Overloading the circuit with other appliances on the same outlet was the problem. Window ACs draw a lot of power, especially on startup.
Always use a dedicated outlet if possible, rated for the amp draw of your unit—check the label, usually 15-20 amps. Extension cords? Avoid them; they can overheat and cause fires. I switched to a heavy-duty surge protector designed for appliances. Also, inspect the power cord for frays or damage; mine had a nick from moving furniture, which might have contributed. If the plug feels hot, that’s a red flag.
During maintenance, test the capacitor and fan motor if you’re handy, but honestly, that’s pro territory for most. My tech replaced a faulty capacitor, which was the final straw in the breakdown. Now, I monitor for signs like humming without starting or frequent cycling. Better wiring habits could have saved me the hassle.
Fifth on the list: seasonal storage and prep matter more than you think. I left my AC in the window year-round, exposing it to winter elements. Dust accumulated, rodents chewed wires (yep, that happened once), and freezing temps damaged parts.
For off-season, remove it, clean thoroughly, and store in a dry place covered with a tarp. Before reinstalling in spring, inspect everything—filters, coils, seals. Run it outside first to check for issues. I now do a “dry run” in the garage, letting it operate for an hour to ensure no leaks or odd noises.
If you can’t remove it, cover the exterior with a weatherproof case. Insulate the interior side to prevent drafts. This prep extends life and avoids startup surprises. My breakdown might have been prevented with better winter care.
Sixth lesson: listen to your AC. It talks through sounds and performance. Mine started with rattling, then weak airflow, before quitting. Ignoring early warnings lets small problems grow.
Common signs: unusual noises mean loose parts or debris; warm air indicates refrigerant issues; leaks suggest clogs or seals; high bills signal inefficiency. I keep a log now—note when I clean it, any changes. If cooling takes longer, investigate.
DIY fixes for minor issues, but know your limits. For example, tightening screws fixed my rattle once. But for refrigerant, call a certified tech—it’s regulated stuff.
Finally, the seventh lesson: know when to DIY and when to pro. I tried fixing everything myself at first, which delayed the real repair and risked safety. Electricity, refrigerants—dangerous if mishandled.
For cleaning and basic maintenance, DIY is fine with precautions. But for electrical, compressor, or if it’s under warranty, get help. My tech spotted issues I missed, like a bent fan blade. Cost me $150, but saved buying a new unit.
Research local services; read reviews. Some offer maintenance plans for annual checkups. Worth it for peace of mind.
Wrapping this up, my AC breakdown was a wake-up call. These seven lessons—regular filter cleaning, coil maintenance, proper sealing, electrical caution, seasonal care, listening for signs, and knowing when to call pros—have kept my unit running smoothly since. It’s not about being perfect; it’s about consistent effort. Your home stays cooler, bills lower, and breakdowns fewer. If you’ve had a similar fiasco, share in the comments; misery loves company, but so does good advice.